
3 Your ICON Homepage
Let’s get to creating that ICON homepage!
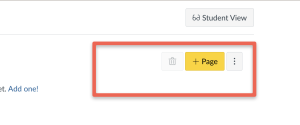
First, we’ll select Pages in our CourseNav menu. Then, we’ll click on the yellow button in the top right corner: + Page.
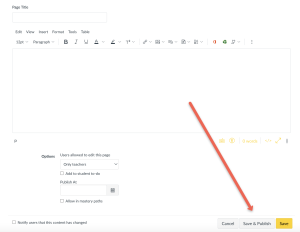
Type your title and course description in the box below. Feel free to include your welcome message, office hours, and course description. You can also add images through the Insert button. When you’re done, hit the Save & Publish button in the bottom right corner.
Once your page is published, it should look something like this. Navigate to the top right corner and click on the three dots. Click Use as front page.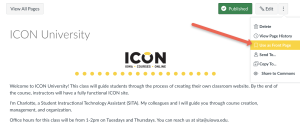
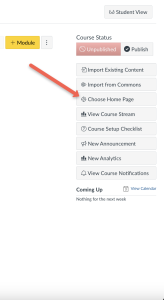
Once you’ve set that, navigate to the Home button on the left-hand sidebar. Once you’re there, click on the Choose Course Homepage button on the right.
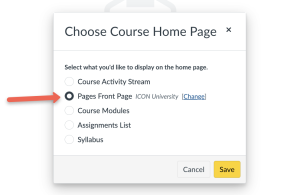
You’ll see this popup. Click Pages Front Page to set your homepage.
Tip: A homepage can be a fun and helpful landing for your students, but it’s not the only option. If you’d like, here’s where you can set the homepage to Course Activity, Course Modules, Assignments list, or Syllabus. Remember, the design of your website is ultimately up to you!
Great! Your course homepage is all set up.
Tip: After you set your homepage, you can publish your course so that it shows up on your students’ dashboards. This option will be under Course Status on the homepage.
Still, it’s important to consider building your site before making it available to students. This gives you a moment to make important edits before the semester begins. Besides, you’ll be able to test your site for any inconsistencies in Student View! For more information on Student View, visit Chapter 12: Student View.
Helpful Resources
Still have questions? Book consultation with a SITA!
SITAs work one-on-one with instructors on projects that enhance instruction with technology. We’re with the Office of Teaching, Learning, and Technology, which provides expertise, tools, and services to optimize teaching and learning through learning sciences research, ICON, teaching and learning data, and advanced classroom and instructional technology.
You can schedule an appointment or email us at sita@uiowa.edu.