
10 Rubrics
Rubrics allow you to quickly and fairly grade assignments using a standardized system. Here’s how to create and attach a rubric.
First, click the rubrics tab in the left-hand navigation. Then, click + Rubric in the upper right corner of the screen.
You’ll see a rubric skeleton. In the title textbox, go ahead and name the rubric.
Under the title field there are three boxes.
- This box is the category name and description.
- The second is ratings. You can add as many options for grades as you like by clicking the blue + button between the subdivided boxes. The rubric will automatically redistribute the points for the number of categories you make in the ratings. You can also check the Range box in Criteria to indicate that the grader will choose a point value in a range, but not a pre-selected number, i.e. 3.5 / 5 points.
- The third box, Pts, determines how many points this criterion is worth. The total points in the rubric are displayed below this box. To customize the rubric, you will use the pencil icon displayed in the upper right. This will open a panel where you can name the criterion and give them longer descriptions to help grade later. To add another criterion, click + Criterion.
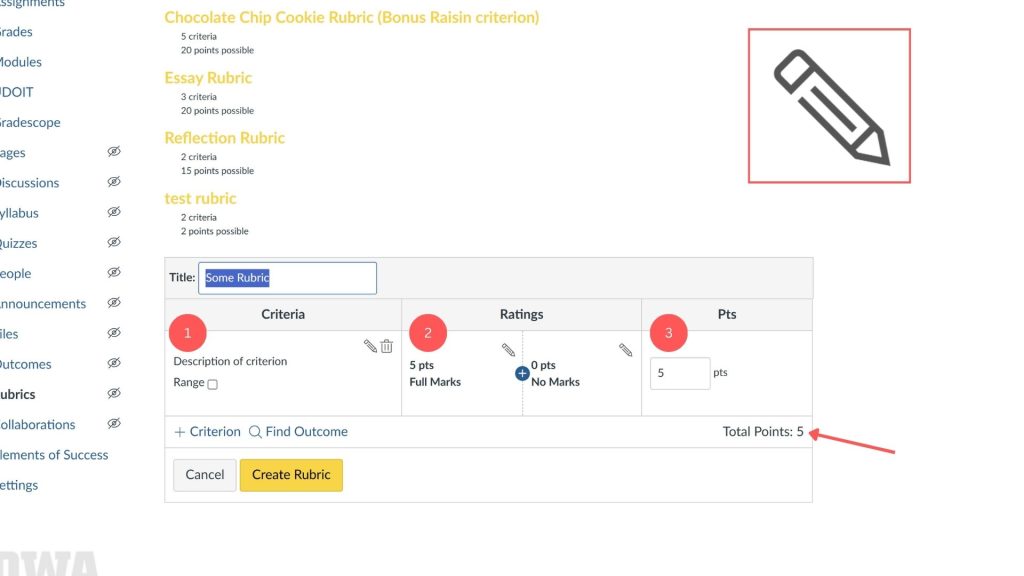
Below is an example of a filled in rubric, utilizing the editing feature, the range option, the add new rating button, and adding new criterion. Once you are sure you like the components of your rubric, click the Create Rubric button.

To use a rubric, you will need to attach it to an assignment.
Tip: The most important step at this point is to make sure this assignment contains the same number of points as the intended rubric. In this case, our training rubric had 20 points, so we are making our assignment worth 20 points.
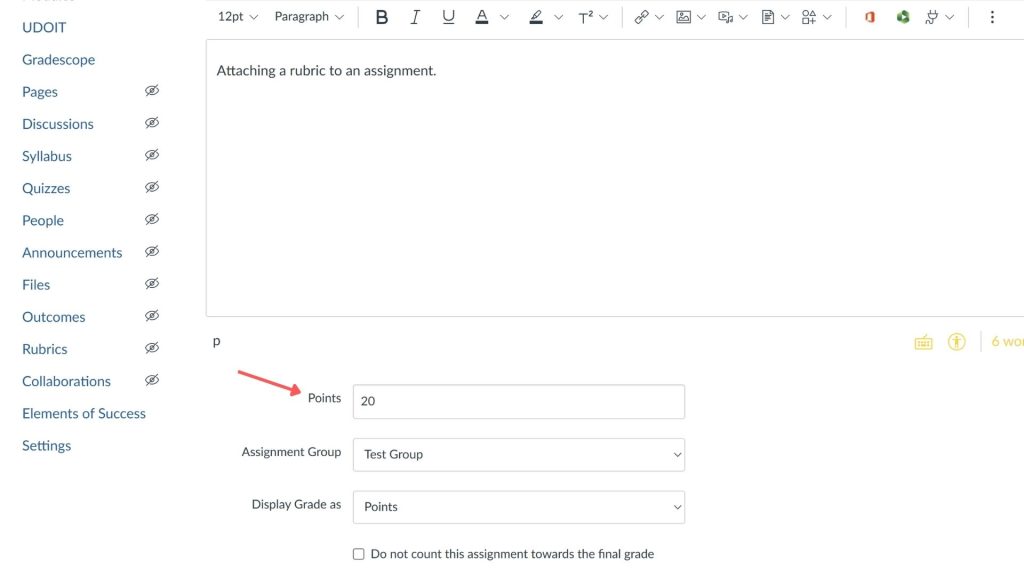
Then click the save button. Make sure to click Save and not Save and Publish. This is because we will be editing the assignment to add the rubric and it is best to do that before your students gain access.
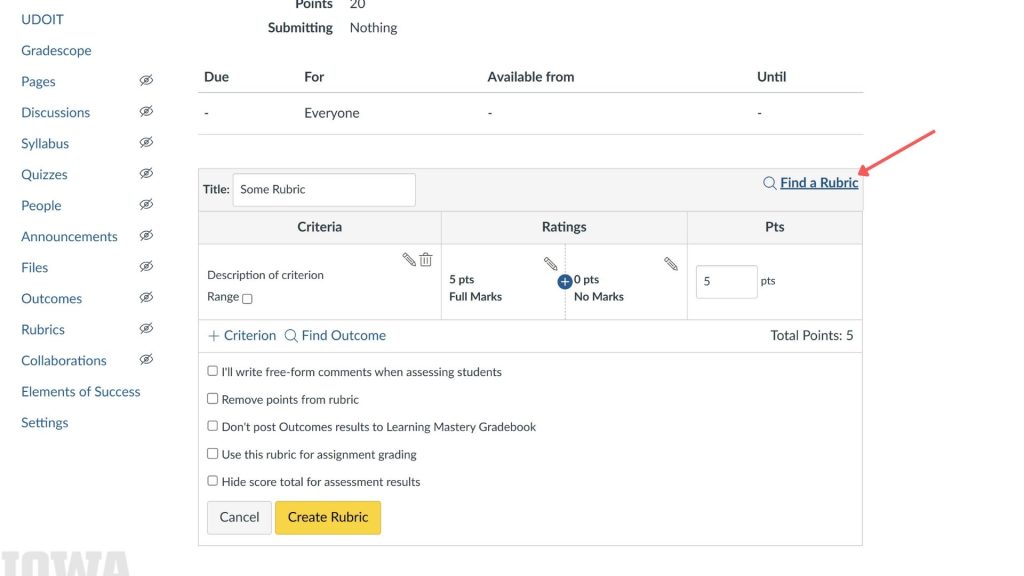
Once you have clicked save, a new page appears. Under the assignment description there will be a + Rubric button. Click it. ICON will then open a create rubric field. You could alternately create you rubric right here, but in this case the rubric is already made so you will click 🔎Find a Rubric.
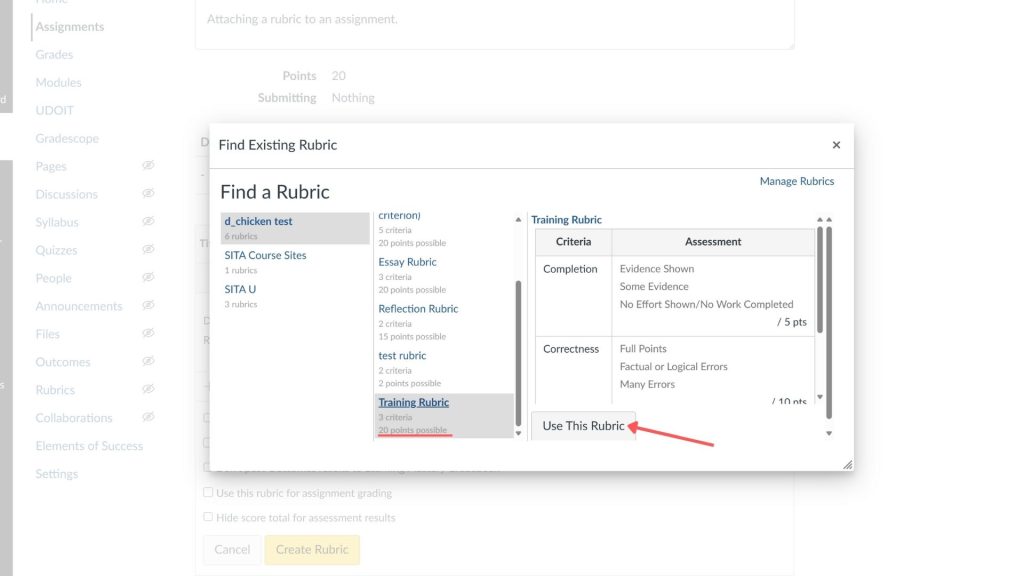
You’ll see this pop-up asking you to select a rubric. You can select across multiple ICON courses. You will see the names of the rubrics in the center column and a preview of the contents on the right. Under each name in the center column there are small descriptions denoting how many criteria and points are in each rubric. Find the corresponding rubric, make sure the points match up, and click Use This Rubric.
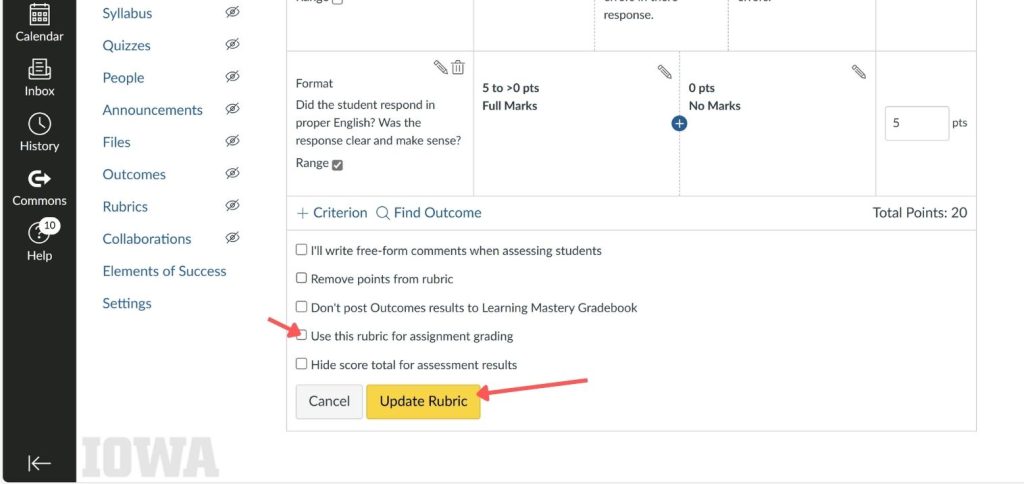
Finally, click on the edit button for the rubric, the pencil – in the upper right. Then you need to select Use this rubric for assignment grading. Now you can click Update Rubric.
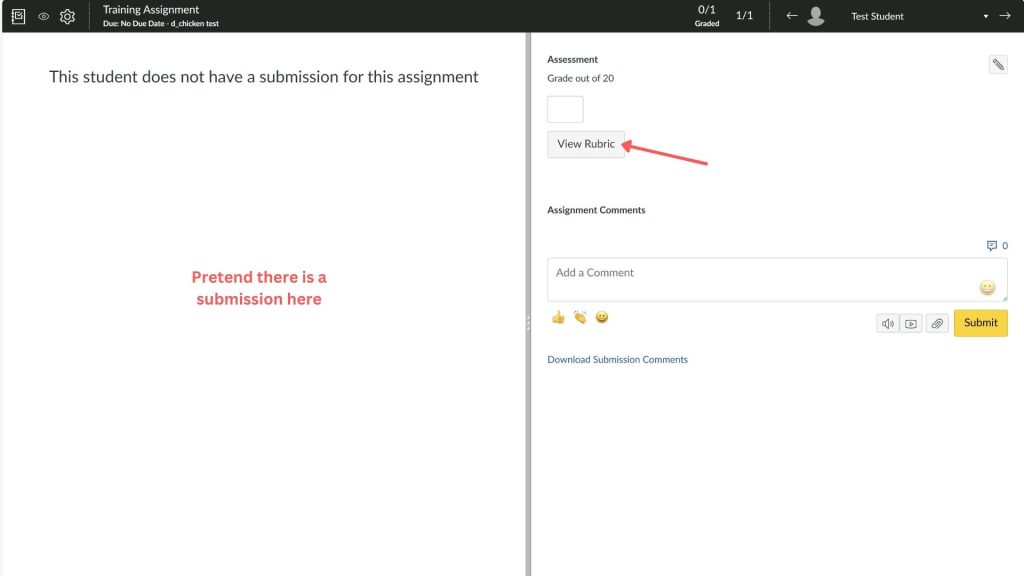
If the setting is correctly enabled, you can use the Show Rubric button to grade in SpeedGrader.
Now you have successfully created and attached an ICON rubric!
Helpful Resources
From the Canvas help site:
Still have questions? Book consultation with a SITA!
SITAs work one-on-one with instructors on projects that enhance instruction with technology. We’re with the Office of Teaching, Learning, and Technology, which provides expertise, tools, and services to optimize teaching and learning through learning sciences research, ICON, teaching and learning data, and advanced classroom and instructional technology.
You can schedule an appointment or email us at sita@uiowa.edu.