
2 ICON Basics
In this chapter we will cover some of the basic actions on ICON. At the moment this chapter is covering two important components of operating ICON.
- Using the Save Button
- Using the Navigation Menu
Using the Save Button:
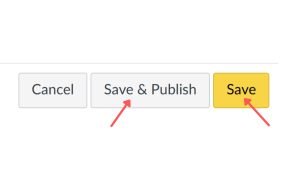
The save button is often located at the bottom right corner on the screen in ICON. It is an important step to creating many things in ICON, from assignments to setting changes. ICON does not autosave. In order to save your content, you must use either the Save button or the Save and Publish button. Which you choose can be explained in following chapters. An example of these buttons is pictured below. Make sure to check each page as you go to leave to make sure you have hit save.
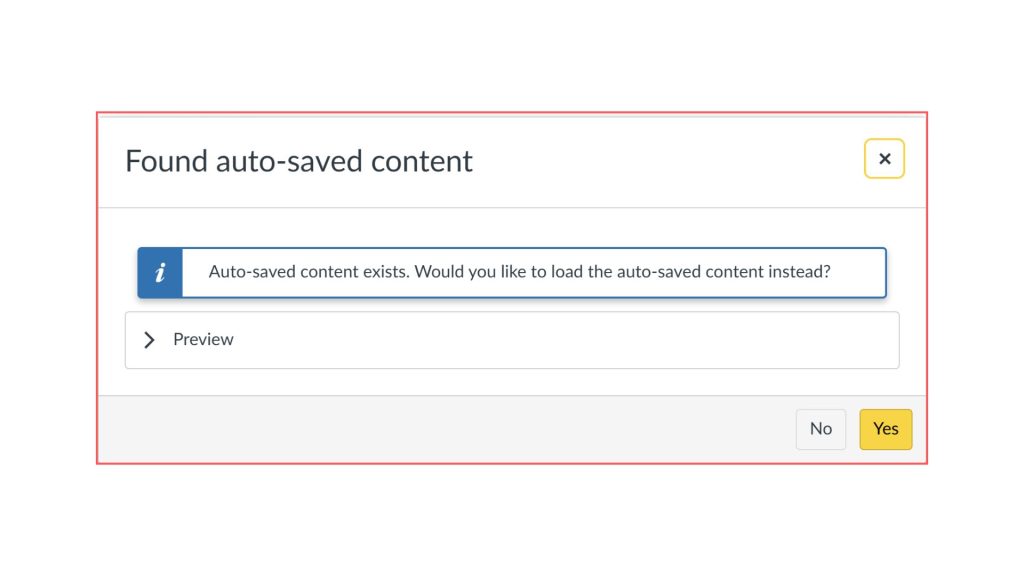
Occasionally, if you accidentally click out of a page you will get a recovery message, but do not rely on it.
 Using the Navigation Menu:
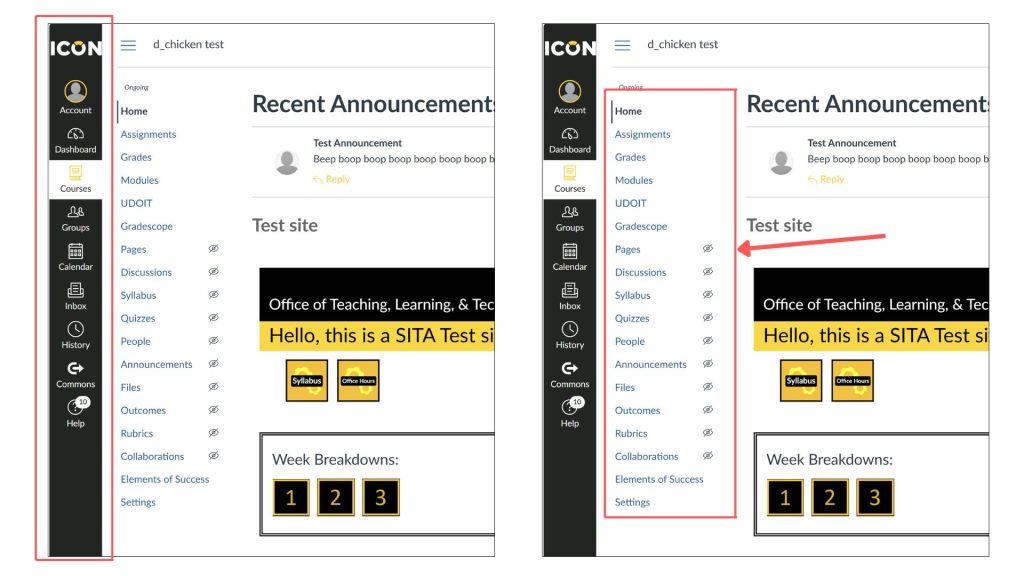
On the left-hand side of an ICON course there are two main bars. The farthest to the left is the ICON navigation bar while the course navigation bar is farther toward the center of the screen. This bar should have no background color and should consist of blue text. An example is pictured below with an arrow indicating to the correct navigation bar.
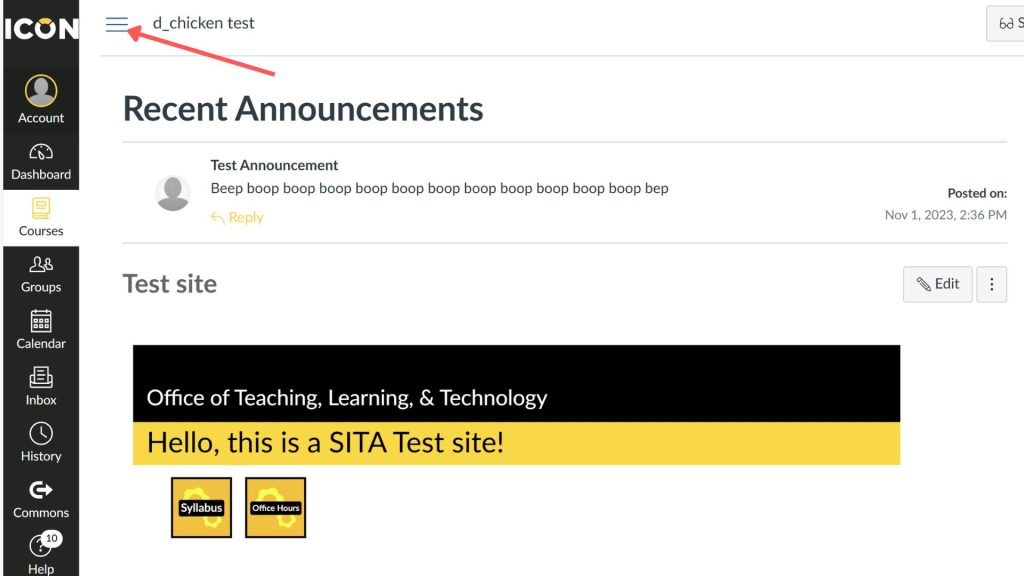
In most chapters, this menu will be referred to by the moniker “Left-hand navigation.” If this bar is not present, you will need to click on the three lines icon in the upper-left corner of the screen as pictured below.
This left-hand navigation menu can be used to get to different parts of your ICON site quickly. By simply clicking on the associated link, you can easily navigate to the correct page.
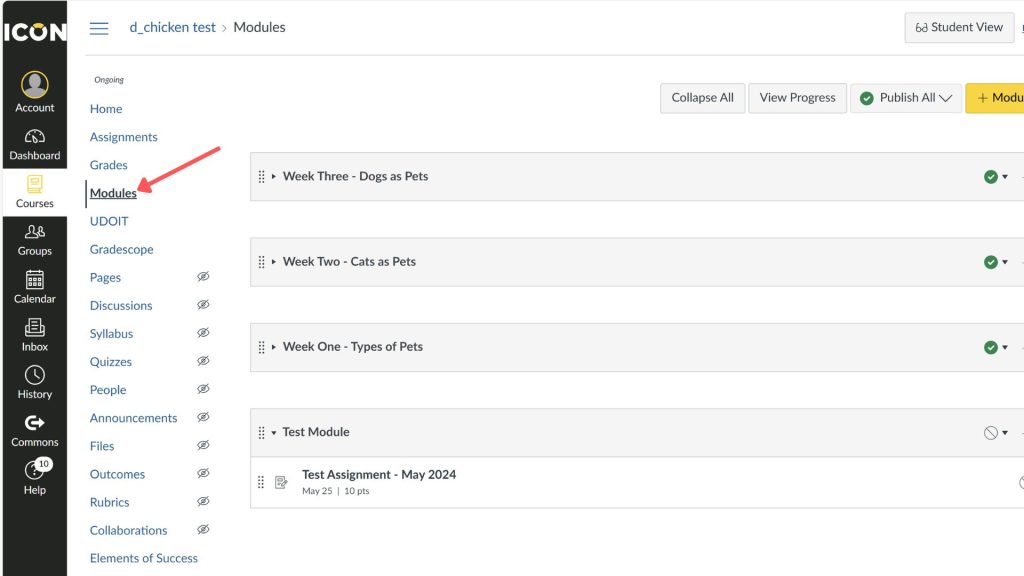
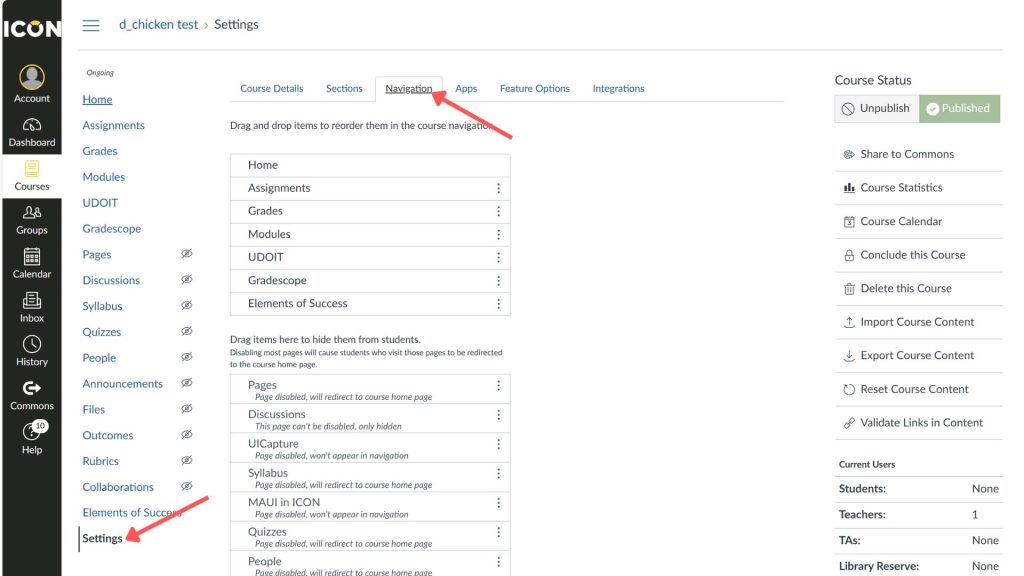
The gray eyes with a strike though (by the labels in the navigation bar) indicate if the page is visible to students. They do not restrict your access as a professor. To modify the visibility, click on settings (in a navigation bar) then go to the Navigation tab in that menu. From here you can click and drag items between categories. For more information on your CourseNav menu, visit Chapter 4: Your Course Navigation Menu. As always, remember to click the save button once you’re done.
Now that you have been caught up on the basics, continue reading to find out more on setting up your ICON site!
Helpful Resources
Still have questions? Book consultation with a SITA!
SITAs work one-on-one with instructors on projects that enhance instruction with technology. We’re with the Office of Teaching, Learning, and Technology, which provides expertise, tools, and services to optimize teaching and learning through learning sciences research, ICON, teaching and learning data, and advanced classroom and instructional technology.
You can schedule an appointment or email us at sita@uiowa.edu.