
8 Headings, Subheadings, Chapters, Paragraphs, and Lists
Headings and subheadings
On each page, which is effectively a subsection of the main Chapters of the book, each new heading should start with a level 2 heading. Subsequent subheadings on the page use level 3, 4, etc. as needed. Please do not use size to make your font larger or smaller.
- For all Chapter titles, use Heading 1 (Pressbooks will automatically assign this)
- For all Headings, use Headings 2 through 5, nested appropriately[1]
Chapters
How to add, edit, trash, restore, or delete a chapter
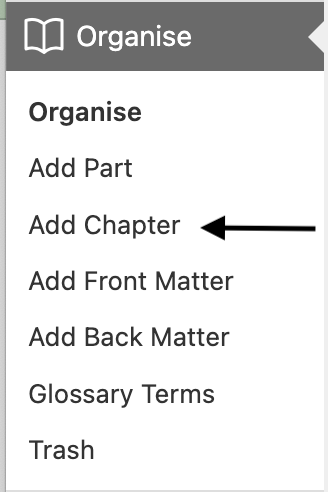
To add a chapter:
- Go to “Organize” from the left sidebar menu of your book’s dashboard
- Click “Add Chapter” either within a part or from the left sidebar menu
- Create a title and add content if desired
- Click “Create”
To edit a chapter:
- Go to “Organize” from the left sidebar menu of your book’s dashboard
- Click the name of the chapter you’d like to edit
- Click “Save”
- Make revisions to the content, the title, or the chapter settings
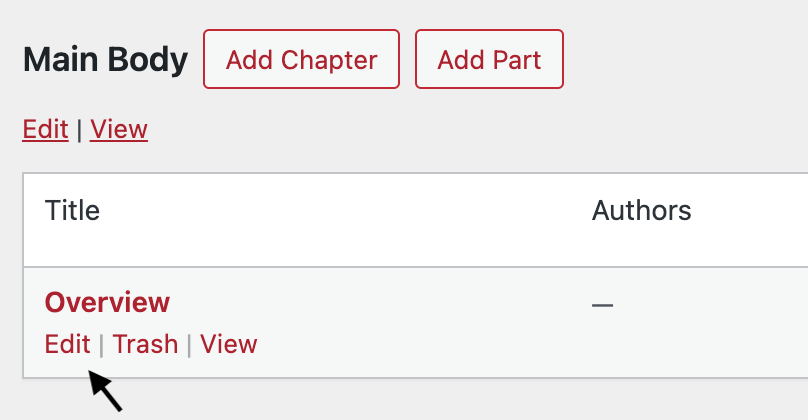
To trash a chapter:
- Go to “Organize” from the left sidebar menu of your book’s dashboard
- Hover over the chapter that you’d like to place in the trash
- Click “Trash”

You can also trash a chapter from the Status & Visibility menu, explained below.
To restore a trashed chapter:
- Go to “Organize” > “Trash” from the left sidebar menu of your book’s dashboard
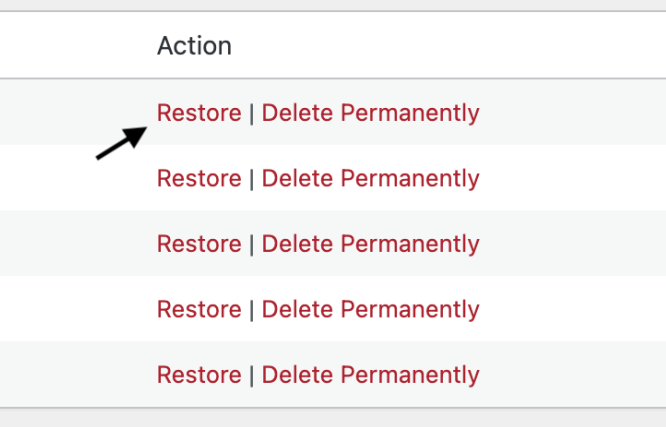
- Find the title of the chapter or post you want to restore
- Click the “Restore” button in the Action column
The post will automatically restore and be accessible from the Organize page.
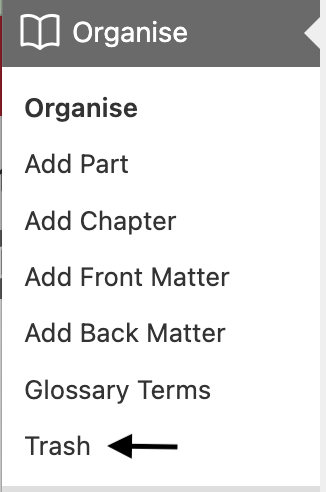
To delete a chapter permanently:
- Go to “Organize” > “Trash” from the left sidebar menu of your book’s dashboard
- Find the title of the chapter or post you want to restore
- Click the “Delete Permanently” button in the Action column
Once a chapter or any other post type has been permanently deleted, it cannot be restored or retrieved.

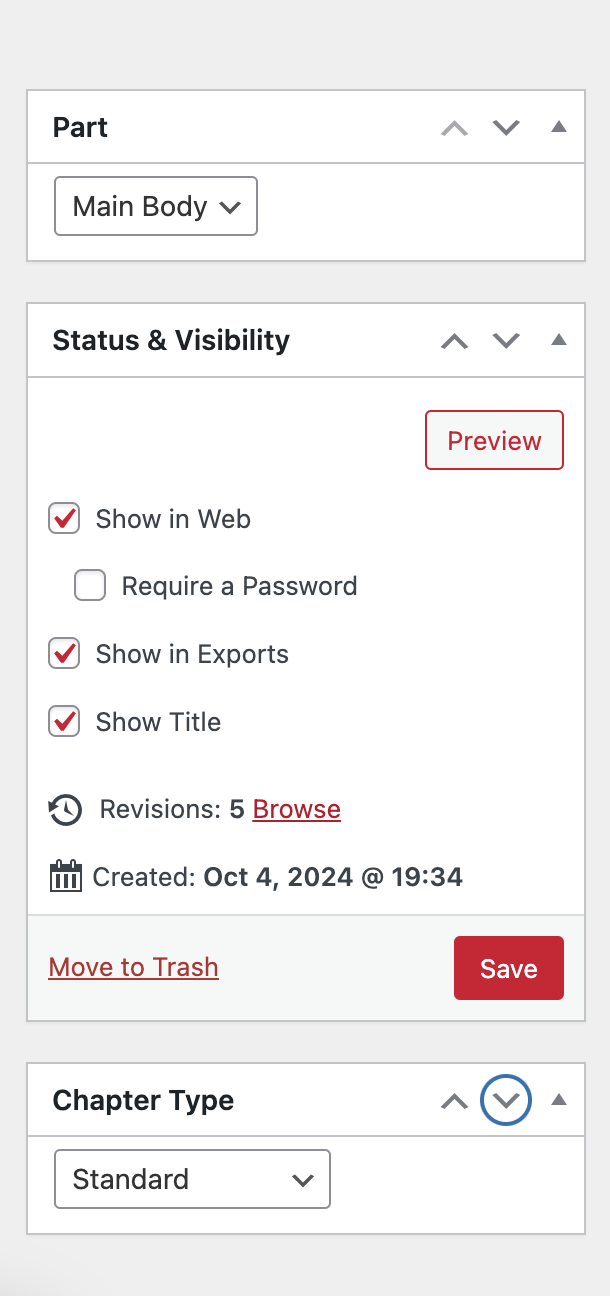
Status & Visibility Settings
In the Status & Visibility menu to the right of the content editor, you will find options to modify the following settings:
- Show in Web: Choose whether or not the chapter is displayed in your public webbook.
- Require a Password: Choose whether or not a chapter that is set to display in your public webbook is password-protected.
- Show in Exports: Choose whether or not the chapter displays in your file exports (e.g., PDF, EPUB, and more).
- Show Title: Choose whether or not the title for the chapter displays for all formats.
Chapter Types
There are three types of chapters to choose from:
- Standard: A standard chapter will have a chapter title which may include design elements depending on the theme and includes the chapter number
- Numberless: A numberless chapter will not include the chapter’s number on the title page and may not contain other elements included in the standard chapter title page design
- No chapter type: This chapter type is the default and emulates the standard chapter type
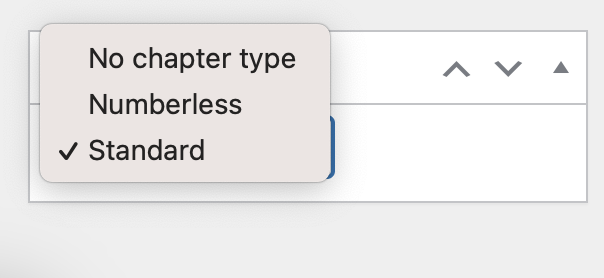
To modify your chapter type, click the dropdown menu and select the chapter type desired. Then, save your changes.
Revisions
All saved versions of your chapter, including autosaves, will be recorded and available in the Revisions menu below the editor interface. Each logged version includes the name of the author who saved the chapter, how long ago it was saved, and a linked timestamp for the post.
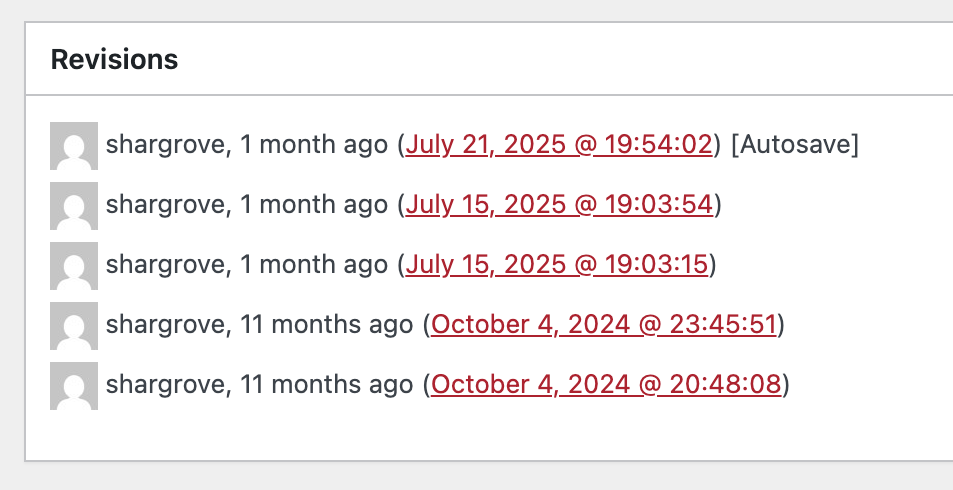
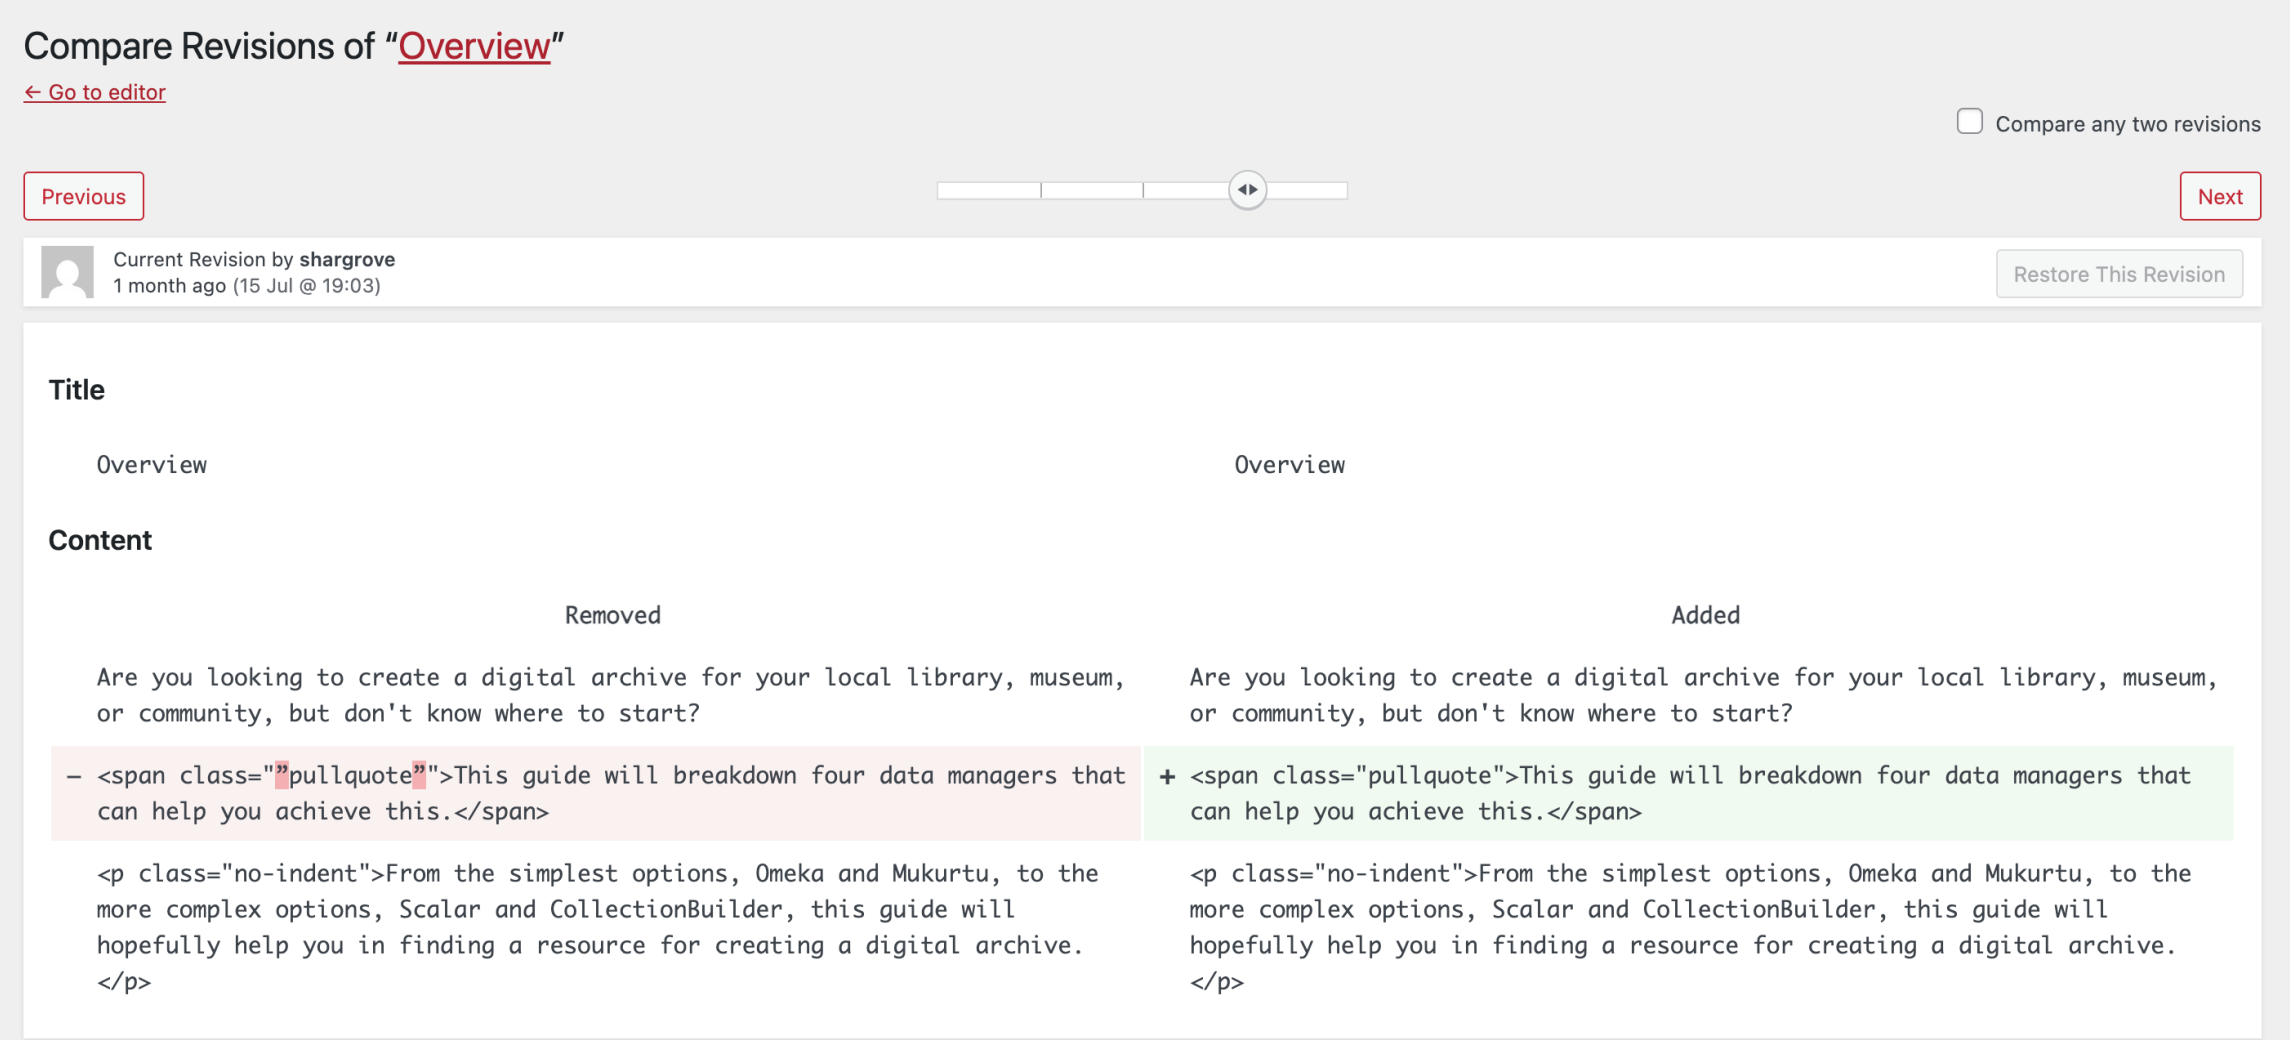
Click any timestamp or the “Browse” button in the Status & Visibility menu to be brought to the chapter revisions page. From this interface, you can:
- Compare any two saved versions of the chapter by checking the “Compare any two revisions” box at the top right of the page.
- Restore any version of the chapter by navigating on the timeline to the intended version, then clicking “Restore This Revision”
- Click “Go to editor” to be brought back to the chapter editor page
Chapter Metadata
The Chapter Metadata section is below the content editor and allows you to add metadata that applies specifically to a chapter rather than to the entire book.
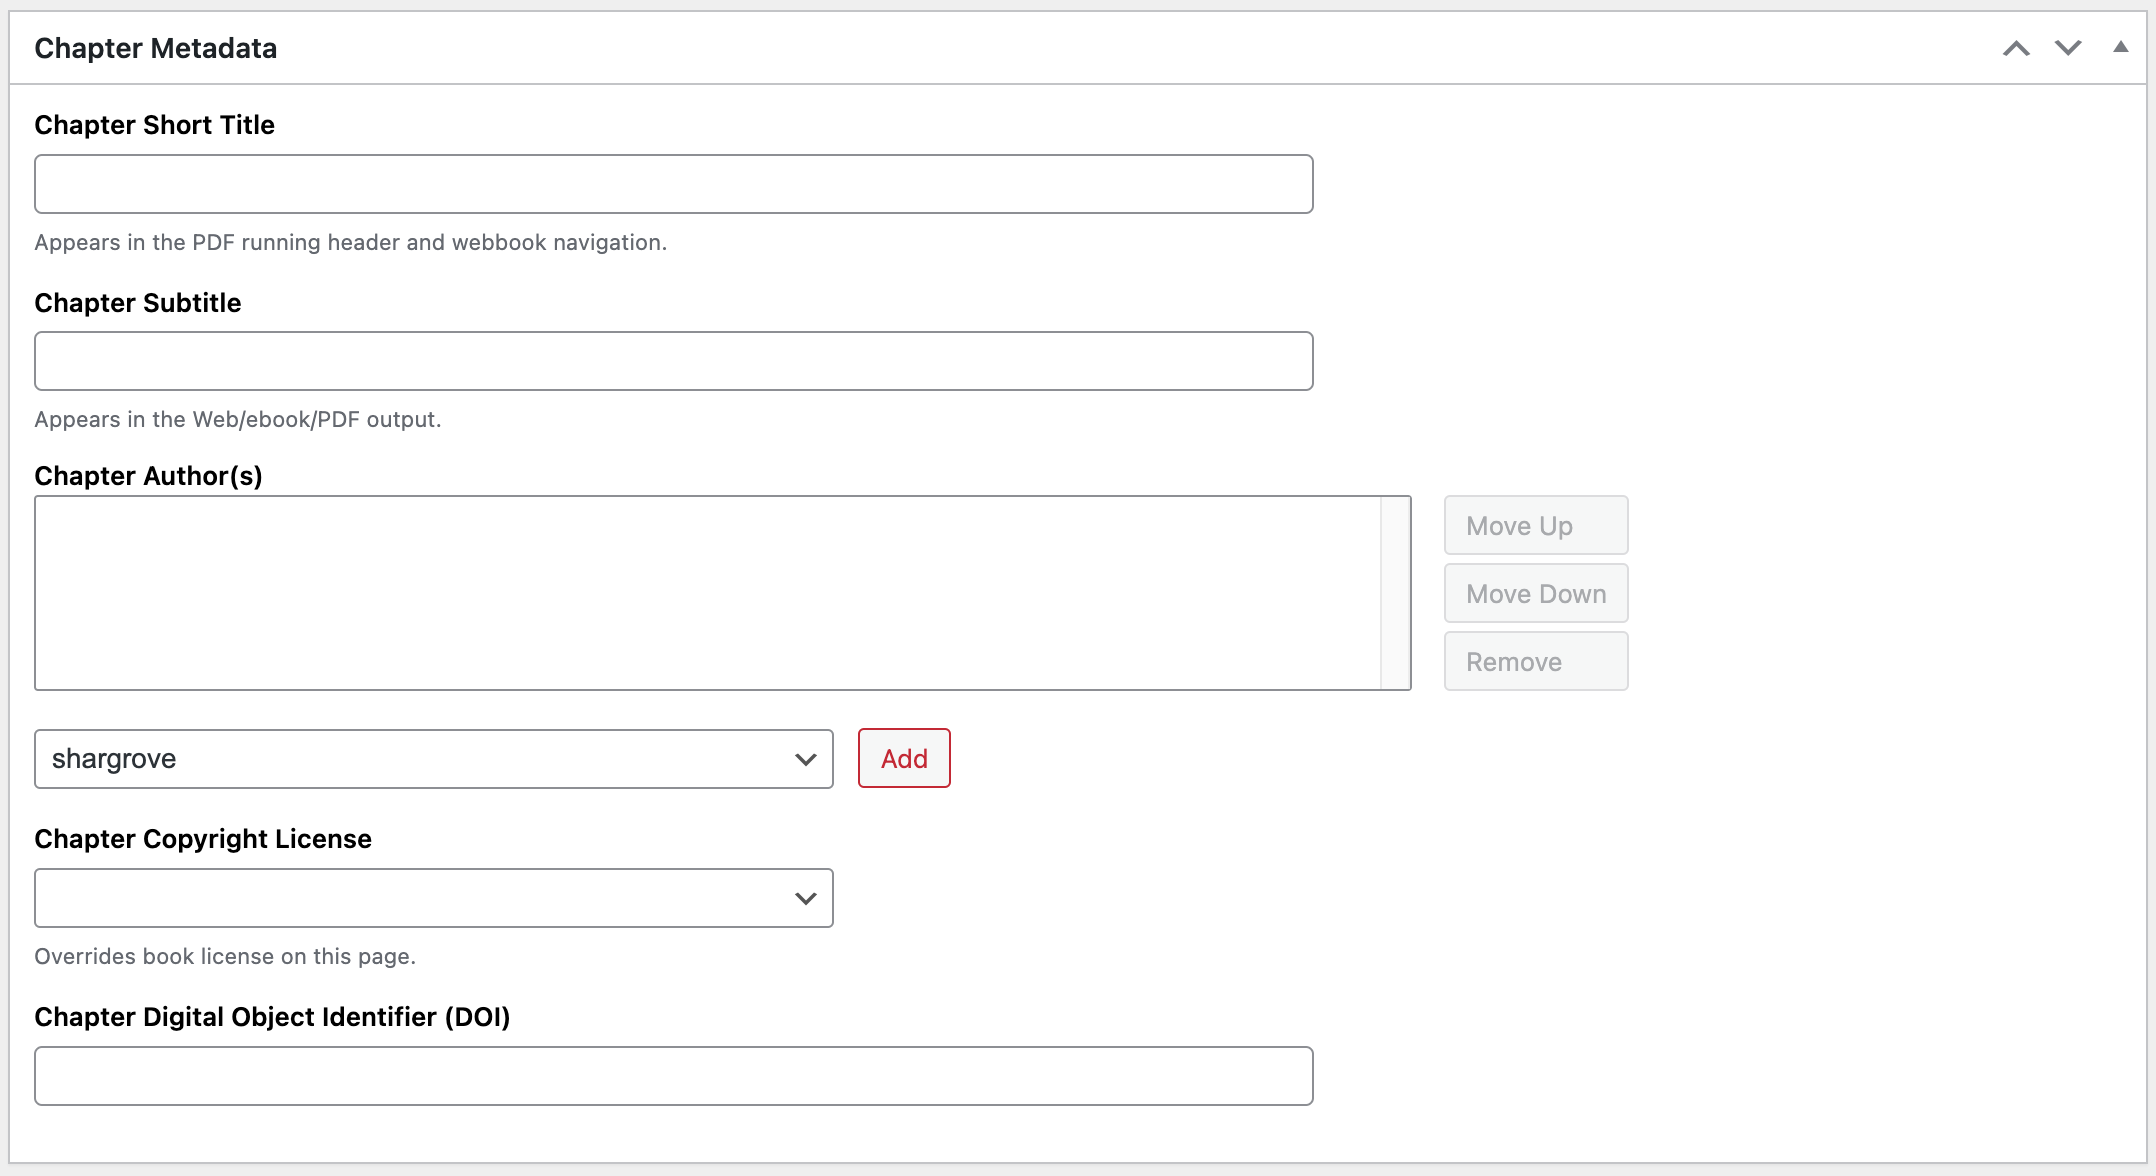
Note that book metadata should be entered on the Book Info page. You’ll find the following options available in the Chapter Metadata section:
Chapter Short Title: Enter a shorter version of your chapter’s title. You can set the short title to display in the running content of a book’s PDF export. The short title is also used for webbook navigation cues.
Chapter Subtitle: Text entered here will display in your table of contents as well as the chapter title page.
Author(s): If the author of a chapter is different from the author of the book, select the author from the dropdown menu to attribute the chapter to that author. Note that if the author name has not yet been added as a contributor, you can click “Create New Contributor” to add it. When an author is added to the Chapter Metadata, the author name will appear beneath the title of the chapter. The name will also appear in the chapter-level license statement.
Chapter Copyright License: If a chapter has a copyright license which differs from the book’s global copyright license, then you can select the chapter copyright license from the dropdown menu. The chapter copyright license will override the book license, but only for that chapter. The chapter-level license will display in the footer of each chapter in the webbook. It can also be set to display in exported book formats when the Chapter Licenses setting is enabled in your Global Theme Options.
Every webbook chapter has a chapter-level license statement in the footer regardless of whether a specific chapter license has been chosen. There are four different scenarios:
- A chapter has a chapter-level author, and a chapter-level license has been selected. The license statement will read Chapter Title by Chapter Author.
- A chapter has a chapter-level author, and a chapter-level license has not been selected. The license statement will read Book Title by Chapter Author.
- A chapter does not have a chapter-level author, and a chapter-level license has been selected. The license statement will read Chapter Title by Book Author.
- A chapter does not have a chapter-level author, and a chapter-level license has not been selected. The license statement will read Book Title by Book Author.
Chapter licenses also affect cloning. If a public, openly licensed book contains chapters that are licensed as All Rights Reserved or No Derivatives, those closed-license chapters will not clone onto the new network.[2]
Paragraphs, Indents, and Quotes
Paragraphs and Indents
Some Background about Paragraphs and Pressbooks:
You don’t normally see this, but when your book is exported (in the Web preview, to PDF, EPUB, or MOBI), a new paragraph is wrapped in a special <p> tag that tells the output: this is a paragraph! Please style me! In most cases, for print and e-books (as is traditional with most books you’ll find on your shelf), a new paragraph is denoted in the text by a new line and an indent. Sometimes that’s not the case though.
For instance, in a book you might see something like this:
Here is the first sentence in a paragraph. Here is a second sentence. And another, longer third sentence, which we will make long enough so that we are sure it will wrap around to the next line.
Here is the next line of the paragraph. You will notice that this paragraph is indented.
How do we make paragraphs behave properly in Pressbooks? When the paragraphs are exported, they are wrapped like in the example below which tells the PDF or Ebook how they should be styled.
<p>Here is the first sentence in a paragraph. Here is a second sentence. And another, longer third sentence, which we will make long enough so that we are sure it will wrap around to the next line.</p>
<p>Here is the first line of the next paragraph. You will notice that this paragraph is indented.</p>
Paragraphs are always displayed with a line space in web form and in the visual editor.
However, paragraphs are not displayed like this in the web preview and in the Pressbooks editor. Instead, in the Pressbooks editor, paragraph separation is denoted with a line between the paragraphs, so they will look like this:
Here is the first sentence in a paragraph. Here is a second sentence. And another, longer third sentence, which we will make long enough so that we are sure it will wrap around to the next line.
Here is a new paragraph in the web preview and the editor. You will notice that this paragraph is not indented.
The paragraph tag wrapping and formatting happens on export.
Here’s what you might see in the code editor of Pressbooks:
<h2>Here is a heading</h2>
This is the first paragraph after a heading, which won't be indented on exports.

This is a second paragraph, which will be indented.

This is a single paragraph,

With a soft return for the second line. You can tell this is a "soft" return, because there is no line space.
By inserting two carriage returns, we've made this a new paragraph, which you know because there is a blank line above it. This is just another sentence in the same paragraph. On export, this paragraph will be wrapped in a <p> tag. All paragraphs will. And this paragraph will be indented in exports.
And all that will render on output as:
Here is a heading
This is a first paragraph after a heading, which won’t be indented on exports.
This is a second paragraph, which will be indented.
This is a single paragraph,
With a soft return for the second line. You can tell this is a “soft” return, because there is no line space.
By inserting two carriage returns, we’ve made this a new paragraph, which you know because there is a blank line above it. This is just another sentence in the same paragraph. On export, this paragraph will be wrapped in a <p> tag. All paragraphs will. And this paragraph will be indented in exports.
How to set your whole document so that paragraphs skip lines instead of indent
Certain kinds of books look better without indented paragraphs, and instead have paragraphs denoted with a blank space between the end of one and beginning of next. To apply this styling to your whole book, follow the following steps:
Left Menu > Appearance > Theme Options > PDF Options > Select: “Skip lines between paragraphs” > Ebook Options > Select: “Skip lines between paragraphs”
How to force a non-indented paragraph
You may wish to set a particular paragraph or set of paragraphs with no indent. You can do this in a couple of ways:
- Using the Code Editor, make sure all the paragraphs you don’t want indented have the following tag:
<p class="no-indent">A first paragraph</p>
<p class="no-indent">A second paragraph.</p>
-
- Using the Visual Editor:
- Highlight/select the paragraphs you want to display with no indents/line space between them.
- From the toolbar, select Formats > No indent
Soft Returns/Line Breaks
One thing you might want is to add a soft return in a body header. To insert a soft return in the visual editor, just press the Shift key and the Enter key at the same time.[3] This is what it looks like in the Code Editor:
<h2>Sometimes you want a
line break or soft return in a body header. This is what it looks like</h2>
Other times you want a soft
return in a regular paragraph. You'll have to do these in the Code Editor.
Whereas this is a full new paragraph, that’s long enough to see a wrapping line, on most screens anyway.
And this will give you something like:
Sometimes you want a
linebreak or soft return in a body header. This is what it looks like
Other times you want a soft
return in a regular paragraph. You’ll have to do these in the Code Editor.
Whereas this is a full new paragraph, that’s long enough to see a wrapping line, on most screens anyway.
Block Quotes and Poetry
For poetry, we suggest you do three things:
- wrap the whole poem in a blockquote
- wrap each stanza in <p class=”no-indent”>
- and then each line in the stanza is just a soft return
Note that <p class="no-indent"> does TWO things:
- removes the indent on the paragraph
- adds a space above the paragraph to separate it from the previous text[5]
Pull Quotes
Pull Quotes are short sections of texts that are “pulled” from the text to call out and highlight, drawing attention to these passages and adding graphic interest to a page. Pressbooks supports several different kinds of pull quotes:
- Centered pull quotes
- Left- and right-aligned pull quotes
- Shaded pull quotes
How to Create a Pull Quote
To add a normal pull quote to your book, follow these steps:
- In your chapter, type in the pull quote text where you would like it to appear
- Switch to the code editor and find the text you just entered
- Wrap the text in span tags (shown in bold below):
<span class=“pullquote”>Pull quote text here.</span>
- Save your changes
- Export to see the results
To add a left or right aligned pullquote, follow the steps above, but replace class=“pullquote” with class=“pullquote-left” or class=“pullquote-right”.
To add a shaded pullquote, follow the steps above for a centered or left/right aligned, but add the class shaded after pullquote, pullquote-left or pullquote-right. For example:
<span class=“pullquote shaded”>Pullquote text here.</span>
<span class=“pullquote-left shaded”>Pullquote text here.</span>
Things To Be Aware Of
Pull quotes are a nice element to add to a page to create interest, but there are a few things to be aware of if you choose to use them in your book:
- The styling of pull quotes will vary across themes. Some will use different fonts, some will have borders, some will make the text bold (meaning any bold you add yourself won’t be distinguishable from the main text). You’ll need to export your book in different themes to know how it will look in the final product.
- The appearance of your pullquotes may also vary across the different formats: PDF, e-book, and webbook. This is because each format has its own CSS for styling rules and page structure, so make sure you look at all the formats you will be using when creating your pull quotes, to be sure they look how you want them to.
- Left- and right-aligned pull quotes work best next to long paragraphs, so the text wraps around them properly, without creating any gaps. You might need to experiment with where you place these in your chapter to figure out where they look best.[6]
Lists
In Pressbooks, you can choose to create ordered lists or bulleted lists. These options are available on the toolbar of your Visual Editor.
The default setting for an ordered list is numbers:
- Apples
- Bananas
- Cherries
A hierarchical list will look like this:
- Fruit
- Apples
- Red Delicious
- Apples
However, you can change this setting from the default in the Code Editor of your chapter.
You can change a default numbered list to Harvard, Decimal, or Legal formatted lists.
Here is a hierarchical numbered list:
- Fruit
- Apples
- Red Delicious
- Apples
To change formatting, enter the following code in place of the first <ol> tag:
Harvard: <ol class=”harvard”>
Decimal: <ol class=”decimal”>
Legal: <ol class=”legal”>
Depending on the style you choose, your ordered list should look like this in the visual editor:
In Harvard style
- Fruit
- Apples
- Red Delicious
In Decimal style
- Fruit
- Apples
- Red Delicious
- Apples
In Legal style
-
- Fruit
- Apples
- Red Delicious
- Apples
- Fruit
NOTE: You can add additional items to any list that is already formatted with the ol class tags and the entire list will maintain the class formatting
Cleaning up your lists
All themes have upper alpha (A, B, C), lower alpha (a, b, c, 1, 2, 3), upper roman (I, II, III), and lower roman (i, ii, iii) characters built into the CSS. You can apply these styles by editing the list in the code editor of your chapter.
Switch out the opening <ol> tag for every tier of the list that you want styled differently. The following are the style tags that you can put in place of the opening <ol> tag:
Lower Alpha: <ol style=”list-style-type:lower-alpha”>
Upper Alpha: <ol style=”list-style-type:upper-alpha”>
Lower Roman: <ol style=”list-style-type:lower-roman”>
Upper Roman: <ol style=”list-style-type:upper-roman”>
A list that was in lower alpha instead of numbered would look this in your code editor:
<ol style=”list-style-type:lower-alpha”>
<li>milk</li>
<li>cheese</li>
<li>yogurt</li>
</ol>
This would appear in your visual editor and exports as:
- Milk
- Cheese
- Yogurt
Create the list first through the visual editor using the Numbered List icon on the toolbar. Then, edit the list in the text editor to style it how you’d like. A list that had numbers for primary objects, upper alpha characters for secondary objects, and lower roman numerals for tertiary objects would be structured like this in the code editor:
<ol>
<li>Dairy
<ol style=”list-style-type: upper-alpha;”>
<li>Cheese
<ol style=”list-style-type: lower-roman;”>
<li>Havarti</li>
</ol>
</li>
</ol>
</li>
</ol>
This list would appear in your visual editor and export as:
- Dairy
- Cheese
- Havarti
- Cheese
Want to start your list at a number other than 1––say 3?
<ol start="3">
This chapter is adapted from the University of Arkansas OER Style Guide and the Pressbooks User Guide, both published under a Creative Commons Attribution 4.0 International License, and the OSU OER Faculty Guide 2nd ed, published under a Creative Commons Attribution-ShareAlike 4.0 International License.
- This section of the chapter is adapted from the OSU OER Faculty Guide 2nd ed, Chapter: Headings and subheadings, published under a Creative Commons Attribution-ShareAlike 4.0 International License. ↵
- This section of the chapter is adapted from the University of Arkansas OER Style Guide, Chapter: Working with Chapters, published under a Creative Commons Attribution 4.0 International License. ↵
- This sentence references the Pressbooks User Guide (2024), Chapter: Apply Special Formatting, published under a Creative Commons Attribution 4.0 International License. ↵
- This section of the chapter is adapted from the Pressbooks User Guide (2012), Chapter 55: Paragraphs, Indents, No-indents and Poetry, published under a Creative Commons Attribution 4.0 International License. ↵
- This section of the chapter is adapted from the University of Arkansas OER Style Guide, Chapter: Block Quotes and Poetry, published under a Creative Commons Attribution 4.0 International License. ↵
- This section of the chapter is adapted from the University of Arkansas OER Style Guide, Chapter: Adding Pullquotes, published under a Creative Commons Attribution 4.0 International License. ↵
- This section of the chapter is adapted from the University of Arkansas OER Style Guide, Chapter: Formatting Ordered Lists, published under a Creative Commons Attribution 4.0 International License. ↵
