
9 Front and Back Matter
How Front Matter Works
Front matter is the stuff that goes at the beginning of the book—before you get into the meat and potatoes. Front matter can include such things as: Preface, Dedication, Foreword, as well as the Title Page and Copyright page.
Front matter items function similarly to chapters. You can create, edit, delete, rename, or reorder front matter items the same way that you would with chapters, with one additional option.
After clicking “Add Front Matter” in the Organize section of your book’s admin, the Front Matter Type menu on the right side of your screen lets you indicate the type of front matter you are adding—which may change how it is styled in outputs.
Types of Front Matter
Pressbooks lets you specify 21 types of front matter, including Miscellaneous.
These types are:
- Abstract
- Acknowledgements
- Before Title Page
- Chronology, Timeline
- Dedication
- Disclaimer
- Epigraph
- Foreword
- Genealogy, Family Tree
- Image credits
- Introduction
- List of Abbreviations
- List of Characters
- List of Illustrations
- List of Tables
- Miscellaneous
- Other Books by Author
- Preface
- Prologue
- Recommended citation
- Title Page
How Back Matter Works
Back matter is the stuff at the end of your book, after the main sections of the book are finished. Some common items in back matter include the Epilogue, Index, and Bibliography.
Back matter items are essentially chapters within a part, with one additional option to customize.
After clicking “Add Back Matter” in the Organize section of your book’s admin, the Back Matter Type menu on the right side of your screen lets you indicate what type of back matter you are adding.
Types of Back Matter
Pressbooks lets you specify 25 types of back matter, including Miscellaneous.
These types are:
- About the Author
- About the Publisher
- Acknowledgements
- Afterword
- Appendix
- Author’s Note
- Back of Book Ad
- Bibliography
- Biographical Note
- Colophon
- Conclusion
- Contributors
- Credits
- Dedication
- Epilogue
- Glossary
- Index
- Miscellaneous
- Notes
- Other Books by Author
- Permissions
- Reading Group Guide
- Resources
- Sources
- Suggested Reading
Adding Front Matter and Back Matter
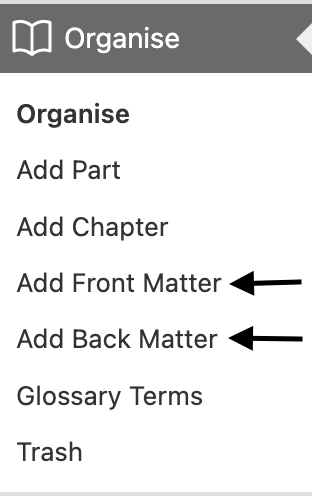
To add different types of Front Matter or Back Matter, just click “Add Front Matter” or “Add Back Matter.” Once you click on one of these options, you will be able to choose templates for different types of front and back matter. You will find a menu with a long list of pre-formatted types of front and back matter to choose from, and you can edit these as necessary to fit your content.[1]
Glossary
Glossary Features and Displays
You can create both individual glossary terms or a full glossary list for your book.
Glossary terms are underlined in your webbook and when clicked on, your book will display the definition in a tooltip.
Users can click the term again or press the Esc (escape) key on their keyboard to close the tooltip. The tooltip will also close if the user clicks another glossary term on the page.
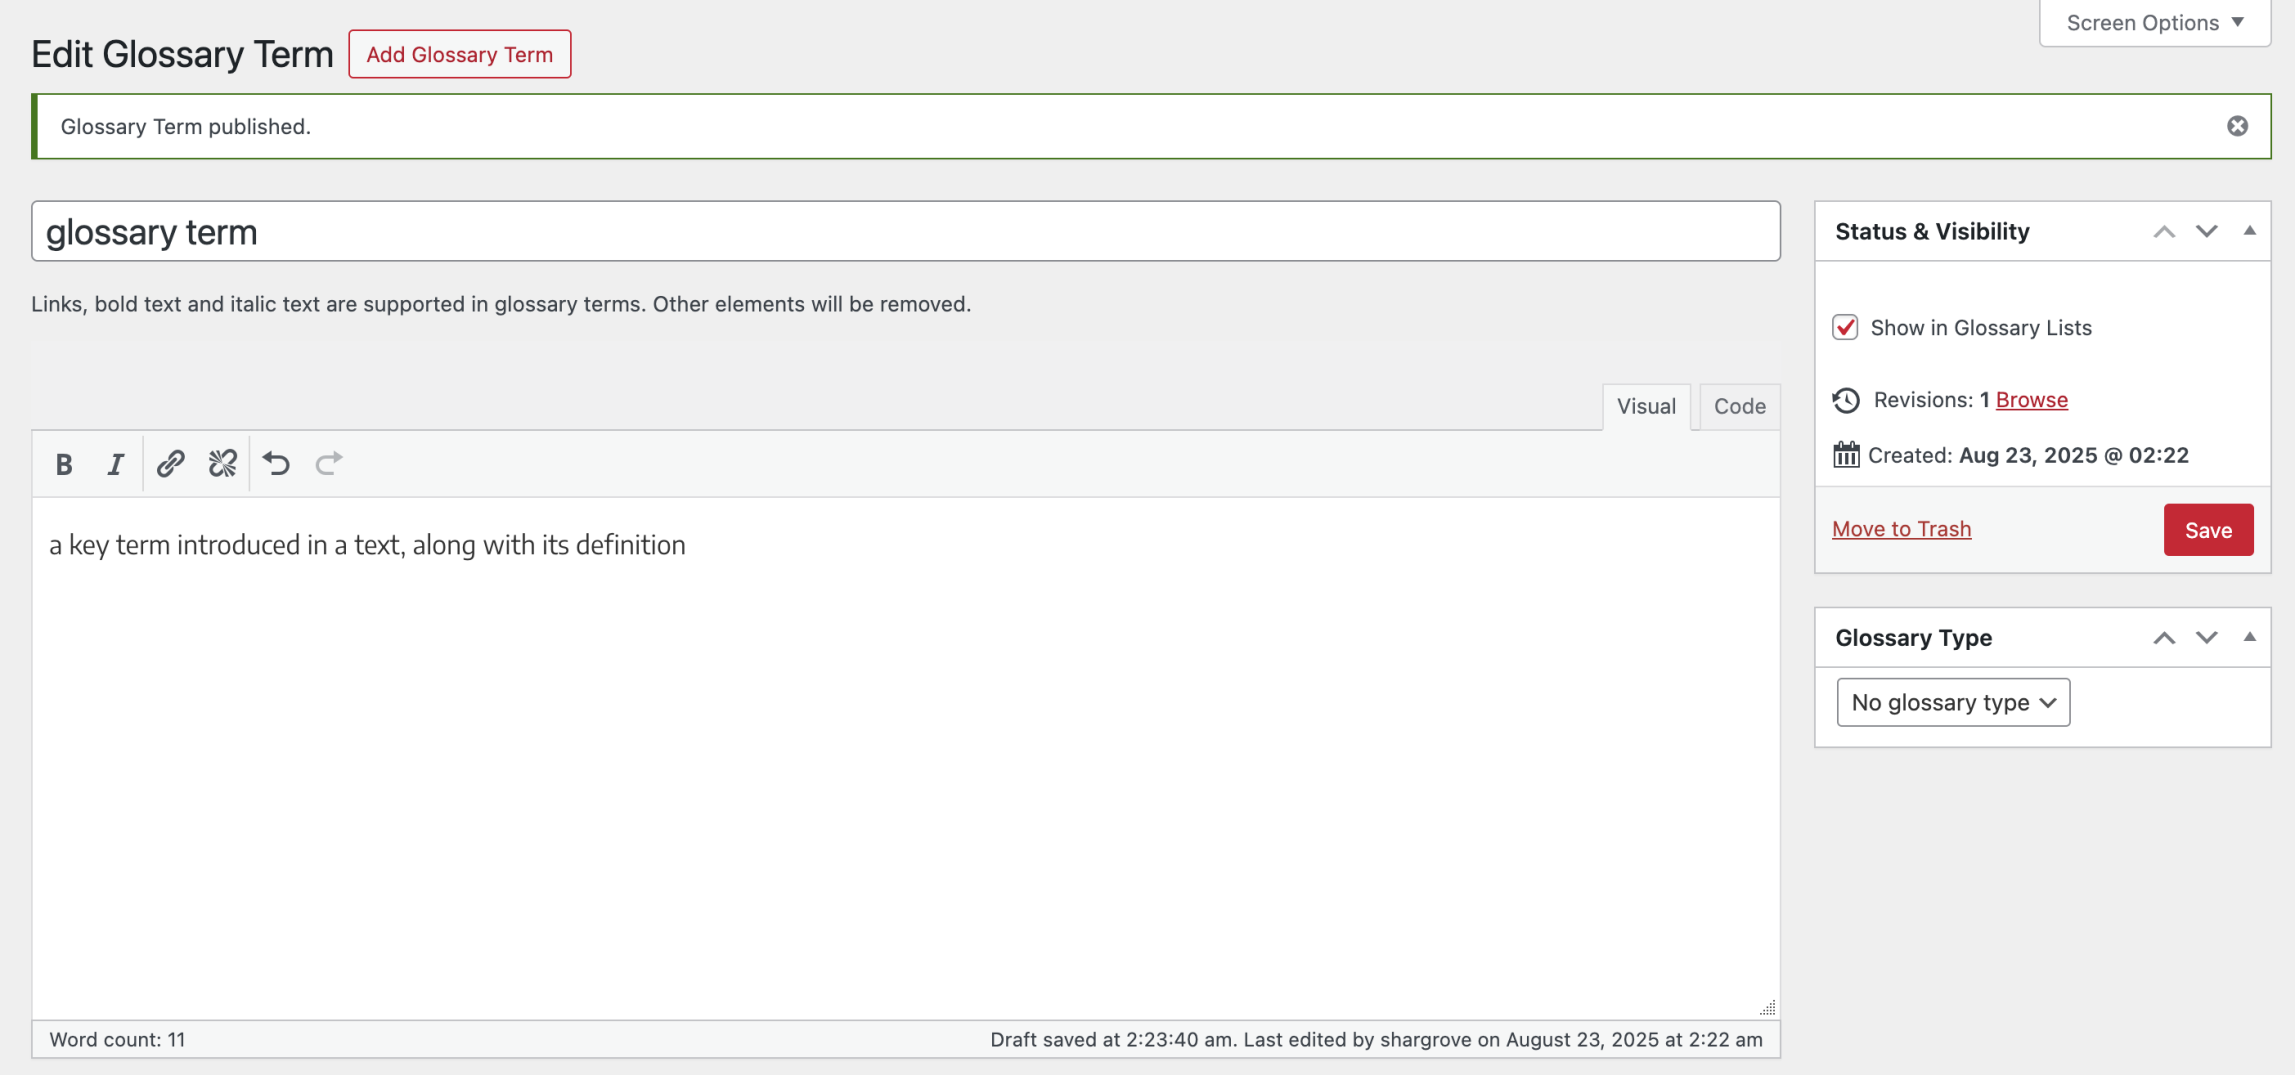
The glossary list is a consolidated, alphabetized list of all the glossary terms that have been selected by the administrators to appear in the glossary list. The design of the glossary list is dependent on the theme and the book format. Glossary definitions can also be styled with links, bold text, or italics in the Add Glossary Term visual editor toolbar. These styles will display in both the glossary list and the tooltip. The glossary list displays in all supported formats: webbook, PDF, digital PDF, EPUB, and MOBI.
NOTE: To add bold formatting to a glossary term, you must format the entire shortcode and not just the term itself in order for the tooltip function to work.
Create a Glossary Term
There are two methods to creating a glossary term. You can either create your terms on the Glossary Terms page before you place them in your book, or you can create the terms directly from the content editor of your chapter, front matter, or back matter.
From the Content Editor
To create a term:
- Highlight a word that you want to add as a glossary term, or place your cursor where you want the glossary term you have not yet entered to appear
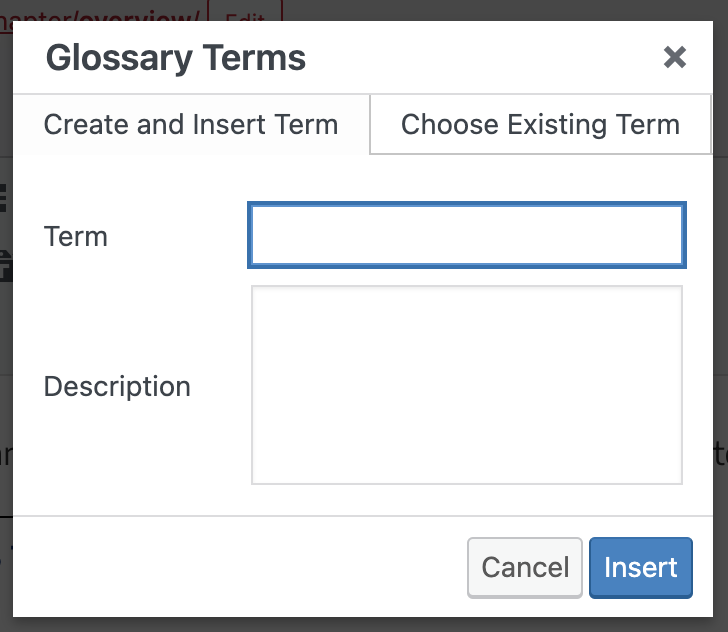
- Click “Insert Glossary Term” from the Visual Editor toolbar. The Glossary Terms interface will appear
- On the Create and Insert Term tab, enter your term (NOTE: If you’ve highlighted a word, that word will automatically populate the Term field)
- Add the description for the term
- Click Insert
A short code will be inserted for your glossary term. If you’ve highlighted an existing term to give it a definition, the short code will wrap around the term. If you’ve created a new word while adding the glossary term, that word will appear wrapped in the glossary term short code.
The short code is visible in the visual editor but is displayed as a functional tooltip in your webbook.
NOTE: Glossary terms inserted with this method will appear in glossary lists by default. To remove the term from the full glossary list:
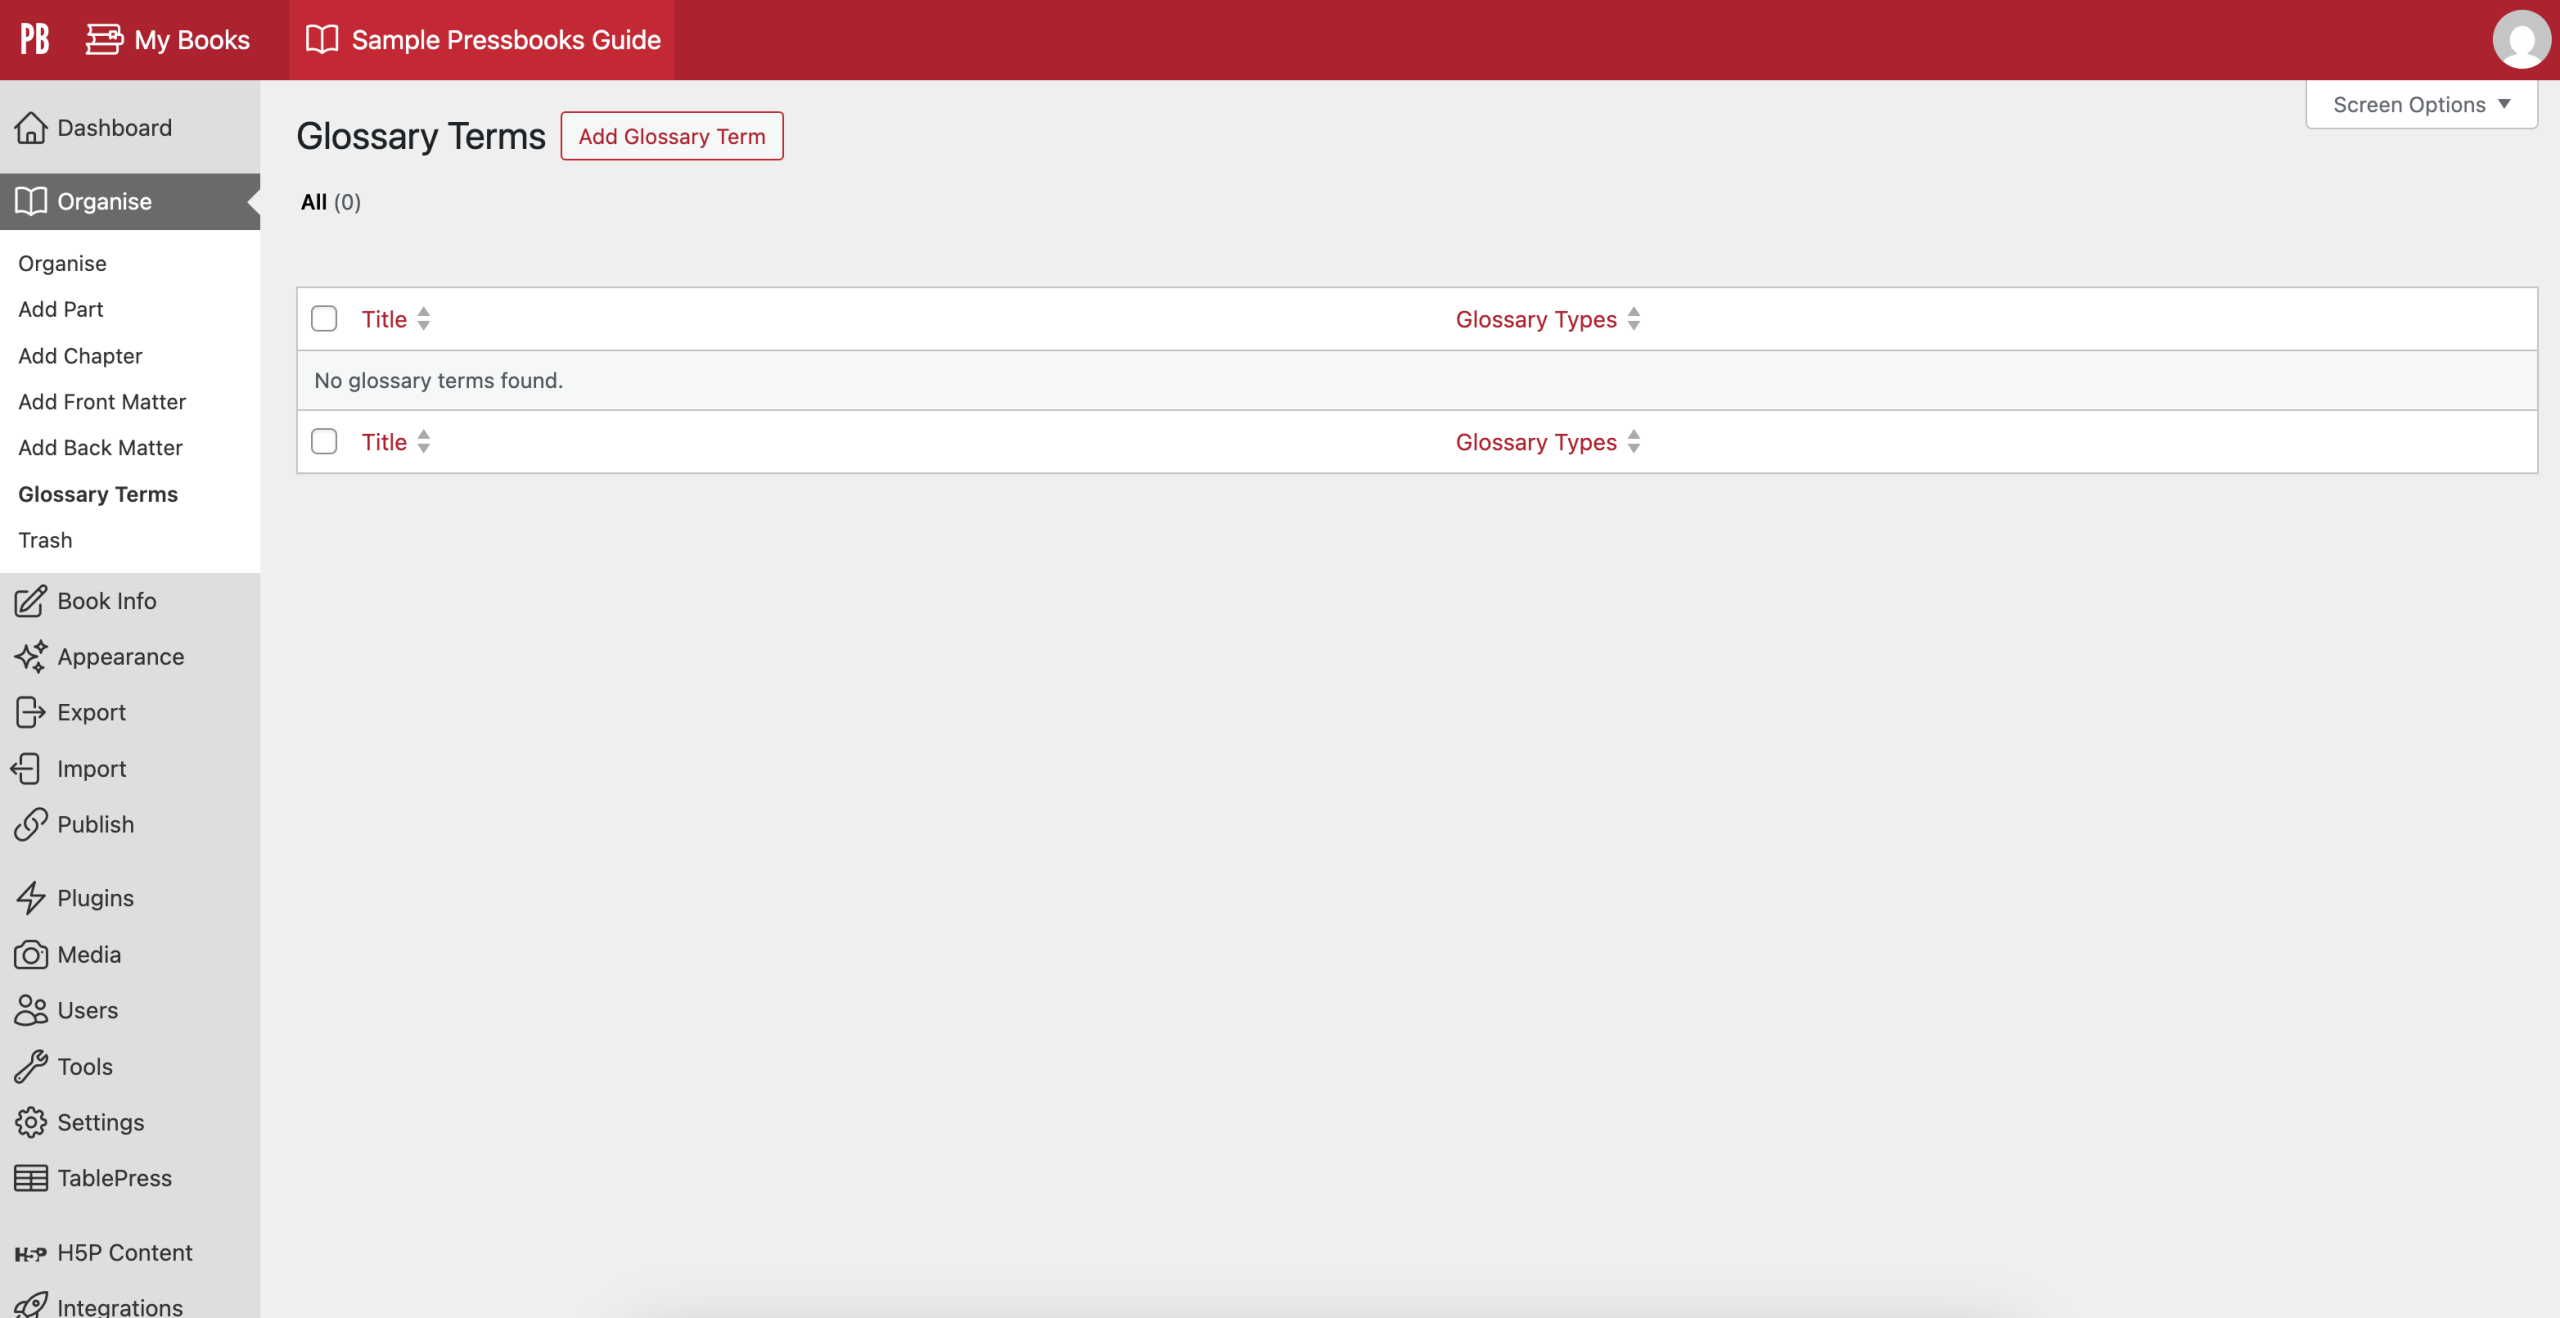
- Go to “Organize” > “Glossary Terms”
- Select the term to access the “Edit Glossary Term” page
- In the “Status & Visibility” menu, deselect “Show in Glossary Lists”
- Save your changes
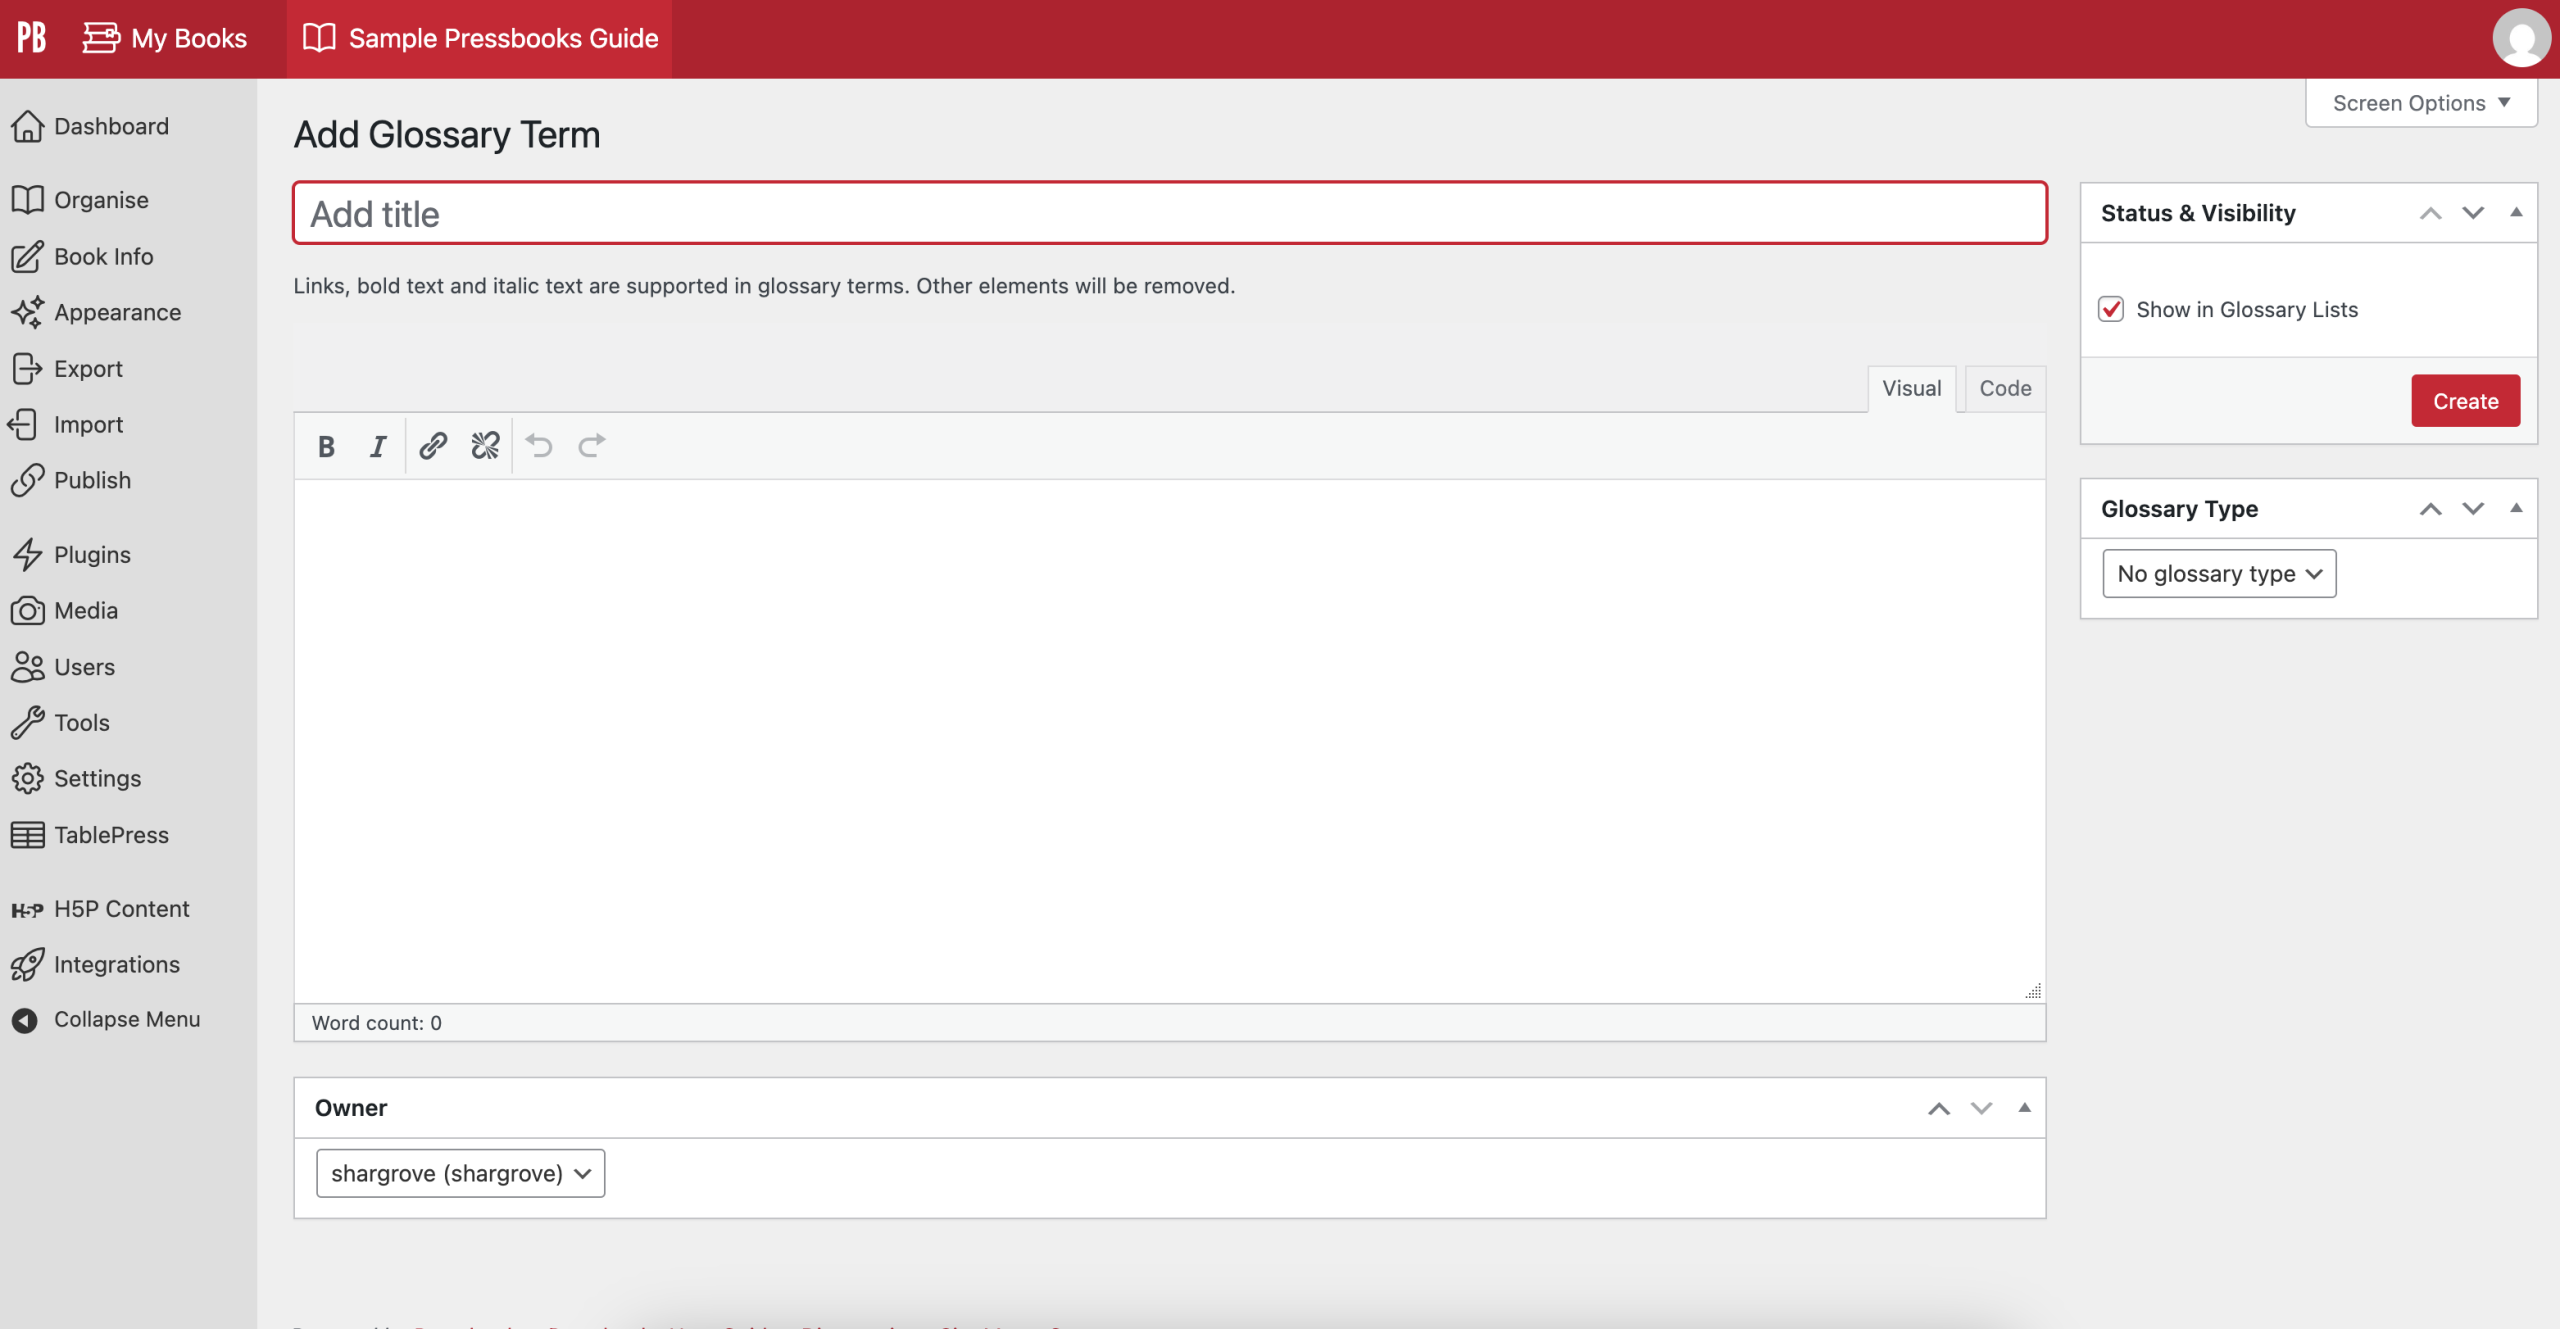
From the Glossary Terms page
To create a term:
- Hover over “Organize” in the left sidebar menu of Pressbooks
- Click “Glossary Terms”
- Click “Add Glossary Term”
- Enter a title for your term
- Create a definition for the term
- Determine whether or not the term should “Show in Glossary List”
- Click Create
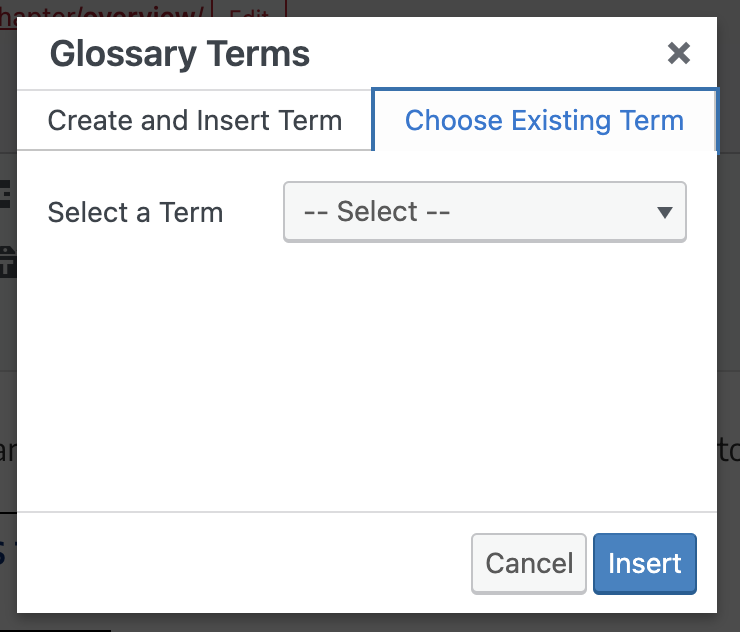
After the term has been created, it can be placed in the content editor. Follow these steps:
- Highlight the word you are applying the existing glossary term, or place your cursor where you want the term to appear
- Click “Insert Glossary Term” on the Visual Editor toolbar to open the Glossary Terms interface
- Select the “Choose Existing Term” tab
- Select the term from the dropdown menu (NOTE: If the text you’ve highlighted matches the name of an already existing term, the interface will automatically open to the Choose Existing Term tab with the matching term selected)
- Click Insert
NOTE: Unlisted terms, or those not selected to “Show in Glossary List” are still available as glossary terms in the “Choose Existing Term” list.
Create a Glossary List
A Glossary List will contain all listed glossary terms you’ve created for your book. By default, all terms will be listed. You can choose whether or not a term is listed when creating a new glossary term through the Glossary Terms page, or when editing any existing glossary term. To exclude a glossary term in your glossary list, uncheck “Show in Glossary List” in the Status & Visibility menu on the Glossary Term editor page, then save your changes. To include a term in the glossary list, leave this box checked.
You can see a list of all terms and their listed or unlisted status by going to “Organize” > “Glossary Terms” from the left sidebar menu of your Pressbooks dashboard.
To generate the glossary list, follow these steps:
- Go to “Organize”
- Select “Add Back Matter”
- In the Back Matter Type menu, select “Glossary”
- Add a title to the back matter chapter
- Click “Create”
NOTE: You must leave the glossary back matter content blank in order for the glossary to be generated.
The glossary list will be generated and displayed in all supported export formats, as well as the webbook.[2]
This chapter is adapted from the University of Arkansas OER Style Guide and the Pressbooks User Guide, both published under a Creative Commons Attribution 4.0 International License.
- This section of the chapter is adapted from the University of Arkansas OER Style Guide, Chapter: Front and Back Matter, published under a Creative Commons Attribution 4.0 International License, with additional edits made by the author to reflect updates made to the types of front and back matter available in Pressbooks. ↵
- This section of the chapter is adapted from the Pressbooks User Guide, Chapter 31: Glossaries, published under a Creative Commons Attribution 4.0 International License. ↵
key words introduced in a text along with a definition.
