
18 Images
Adding images
You may add images in two ways: outside of the editing process and/or during the editing process.
To add items outside of the editing process you can click on Media in the left sidebar.
To add images while writing or editing your text, click on the Add Media button in your chapter editor.
Uploading images from your computer
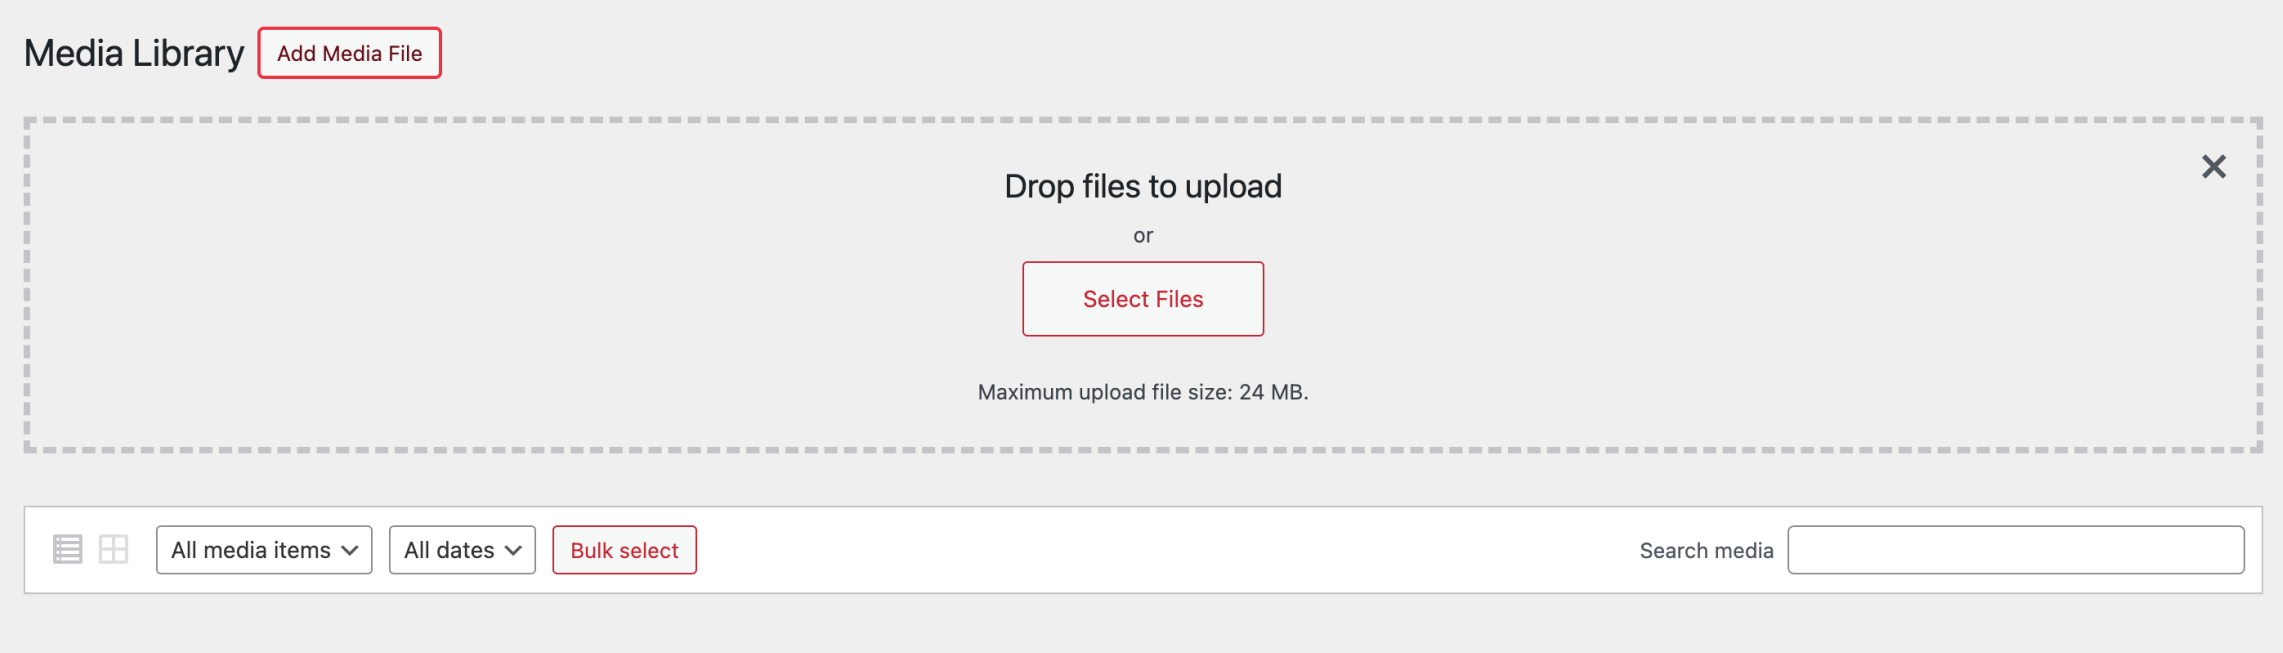
In the “Add Media” area of Pressbooks, upload your image either by dragging and dropping the image file from your computer to the upload box, or by clicking “Select File” to find the file in your computer. You can also choose from existing files in your Media Library.
Settings, when uploading an image
You can create your image file metadata while you are importing your image. You can also change this metadata at any time. This information includes:
- Alternate text (this is important for accessibility for people using screen readers and is required for your book)
- Caption (note: this is important to include for e-books especially as images without captions may not render properly in some e-readers)
- Image alignment
- Image size
- Linking preferences (you can link to the image file, an attachment page, or a custom URL)
Changing your image settings
Finally, if you would like to change the settings on an image after it has been added to a post, go to the chapter editor and click on the image. You’ll see a few small icons appear:
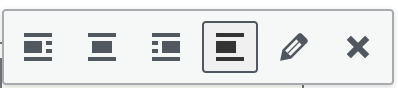
Click on the ‘X’ to delete the image
Click on the pencil to open the editing screen (see below).
Click on any of the other icons to change the image alignment.
You can also edit the image caption at any time by clicking on the existing caption and typing as normal.
Editing screen
After clicking on an image in the Visual Editor, you will be given the option of changing the alignment of the image in the text. You will also see a pencil icon. By clicking on the pencil icon, you will open the Image details screen, which contains the same editing elements from the Add Media page.
Basic image details
To edit an image that you have already uploaded into a chapter, follow these steps:
- Select the chapter containing the image you’d like to edit and access the visual editor.
- Click on the image so that the image toolbar appears.
- Click the pencil icon on the image toolbar to edit.
This will open up the Image details window, which includes a number of basic image settings.
In this window, you can:
- Add alt text
- Add a caption
- Select an alignment for the image
- Set the image’s size
- Link the image to its attachment page, its media file, or a custom URL
- Set an image title attribute
- Set an image CSS class (see more in the Custom Styles section under Appearance and Themes)
- Edit image link settings
- Set a link CSS class
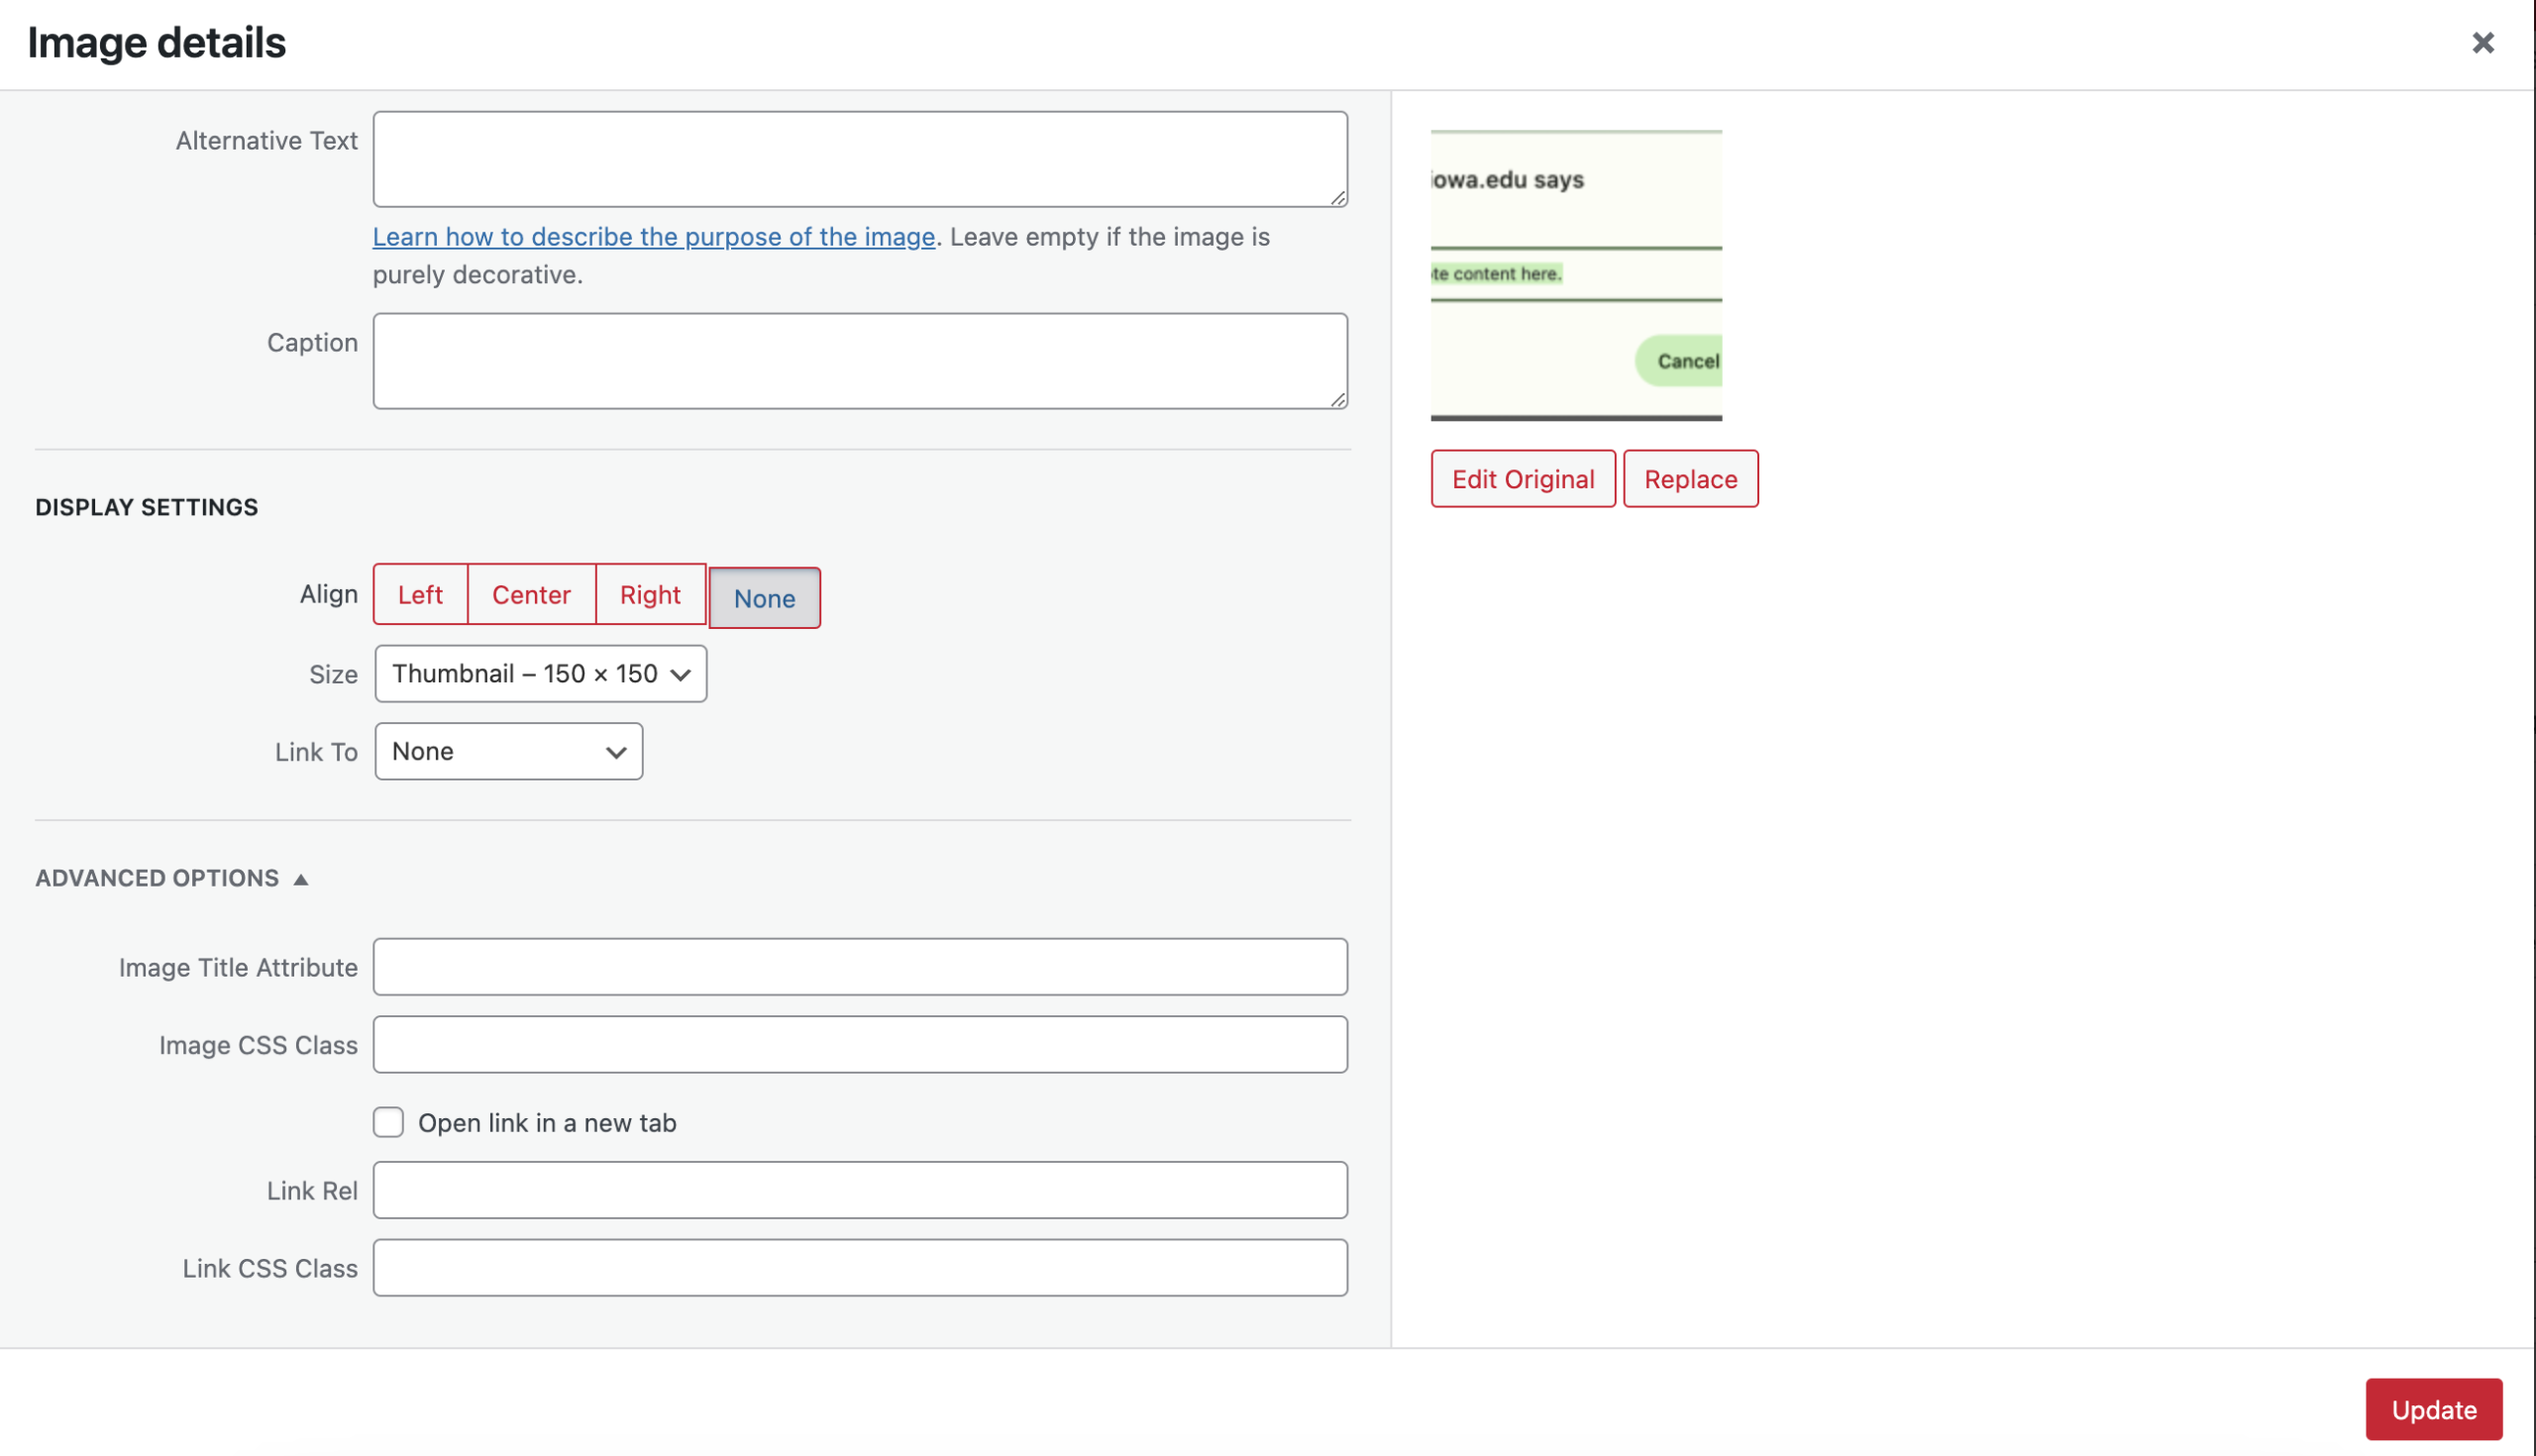
To access additional image editing options, select the Edit Original button beneath the image on the right side of the Image Details window. This will bring you to the Edit Image settings.
Editing your image
In addition to changing your image settings, the editing screen also allows you some basic editing options for the image itself. By clicking on Edit Original you will see a new window with several options for physically editing your image.
Available image editing options include the ability to:
- Crop the image to custom pixel dimensions and aspect ratio
- Scale the image to your custom pixel dimensions
- Rotate an image 90° to the left or right and 180°
- Flip an image vertically
- Flip an image horizontally
- Restore the image to the original

When you’ve finished changing your image settings, click Save. This will return you to the Image Details window, where you can click Update. You’ll then be taken back to the chapter’s visual editor.
Replacing images
If you’d like to replace a single image in your chapter, follow these steps:
- Click on the image you would like to replace and select the pencil icon to open the Image Details window
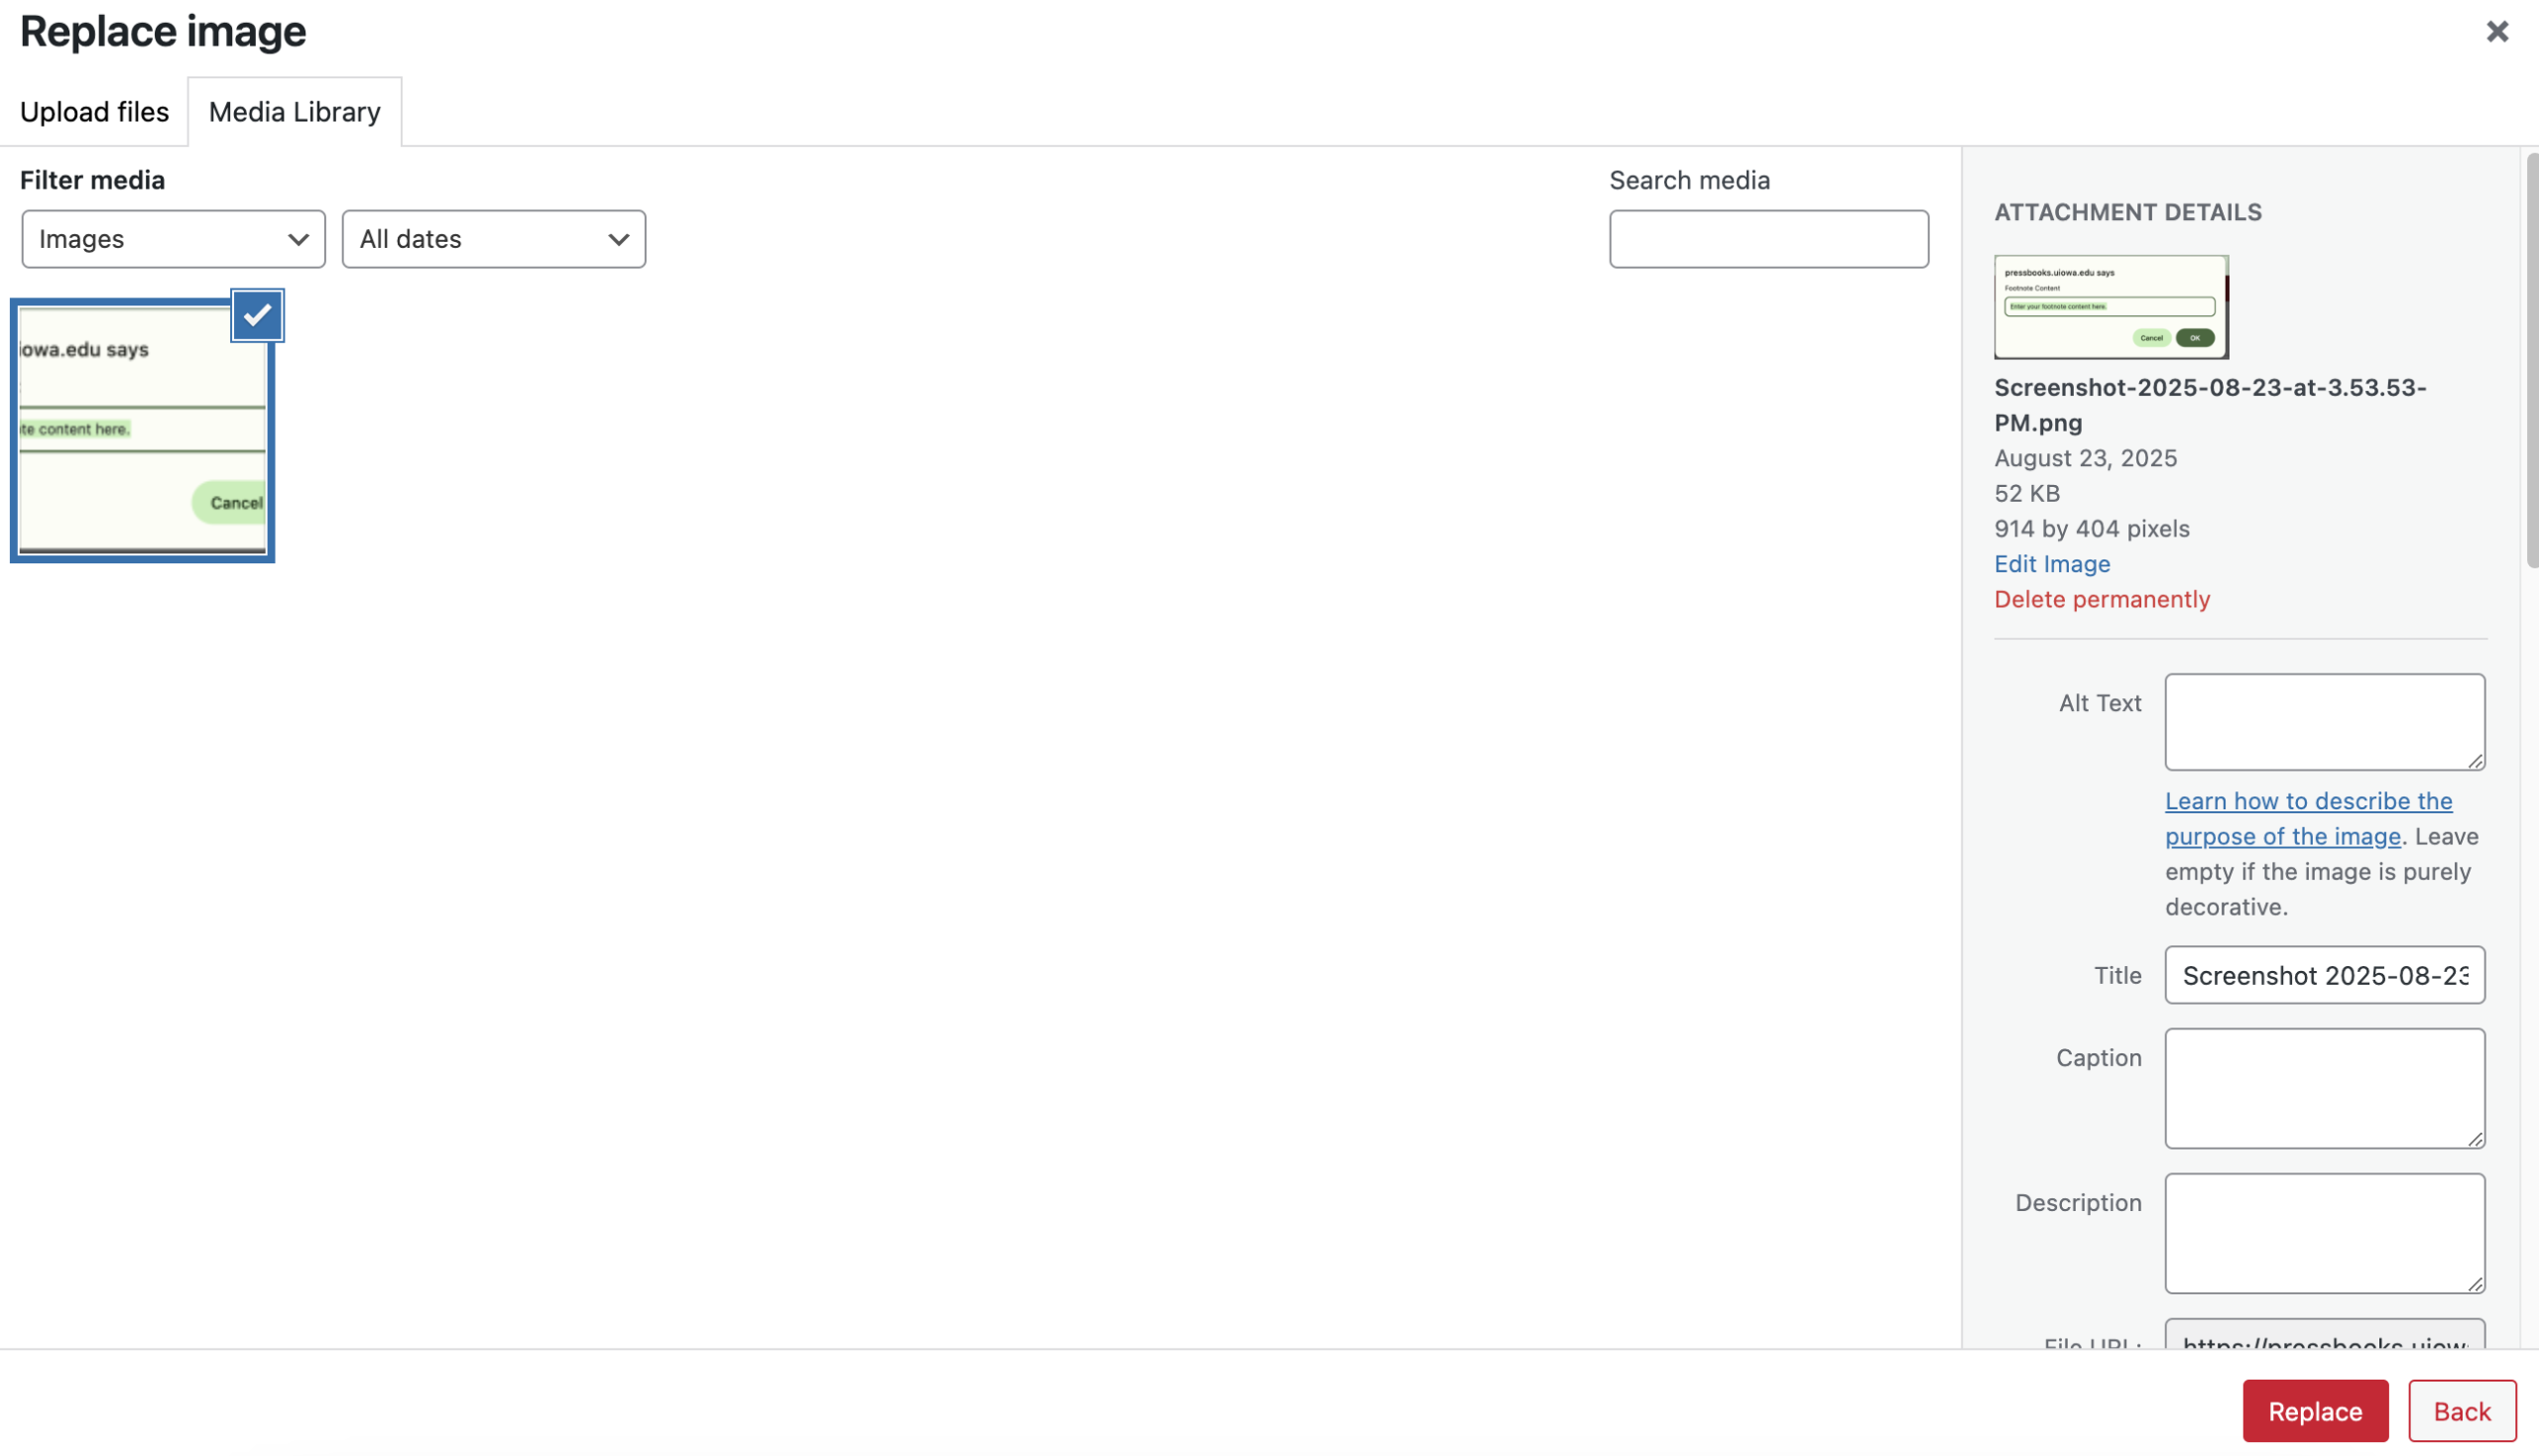
- Click Replace underneath the image on the right side of the panel to be brought to the “Replace image” menu
- Choose the replacement image from your Media Library or switch to the Upload Files tab to upload a new image in the original’s place
- Click Replace
You’ll be returned to the visual editor with the image replaced.
Note that the method previously described only replaces the image in the one specific location you’ve changed. If you’ve used one image repeatedly throughout your book and would like to replace all those images at once, follow these steps instead:
- Click on the image you would like to replace and select the pencil icon to open the Image Details window
- Click Replace underneath the image on the right side of the panel to be brought to the Replace Image screen
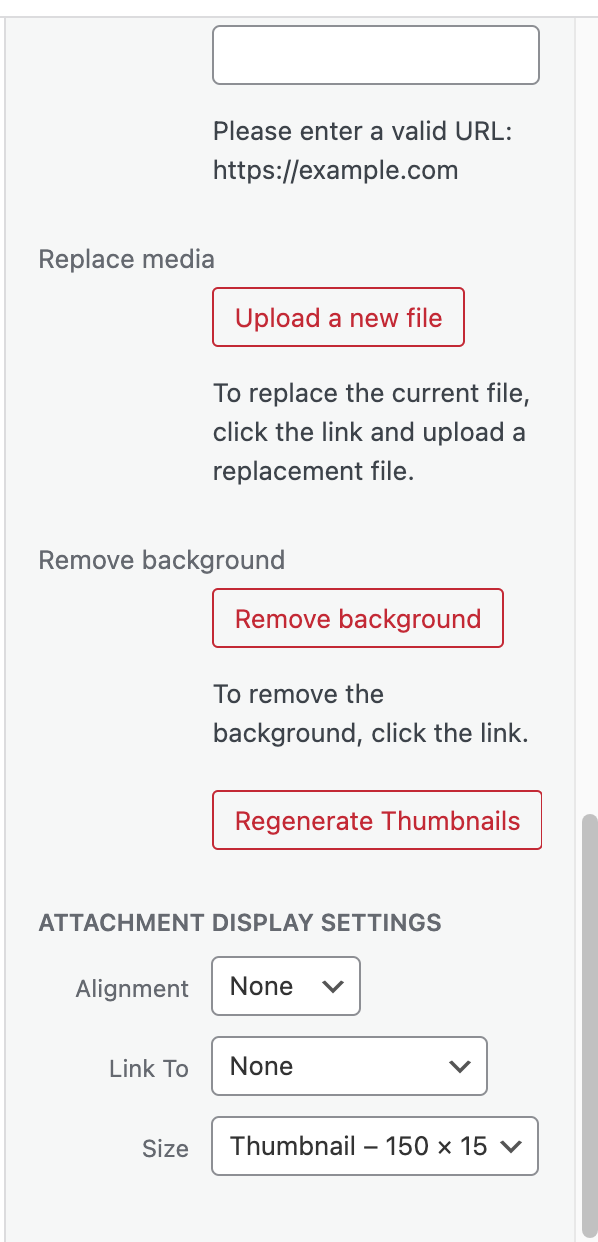
- Scroll down in the Attachment Details panel on the right side of the window until you reach the “Replace media” section
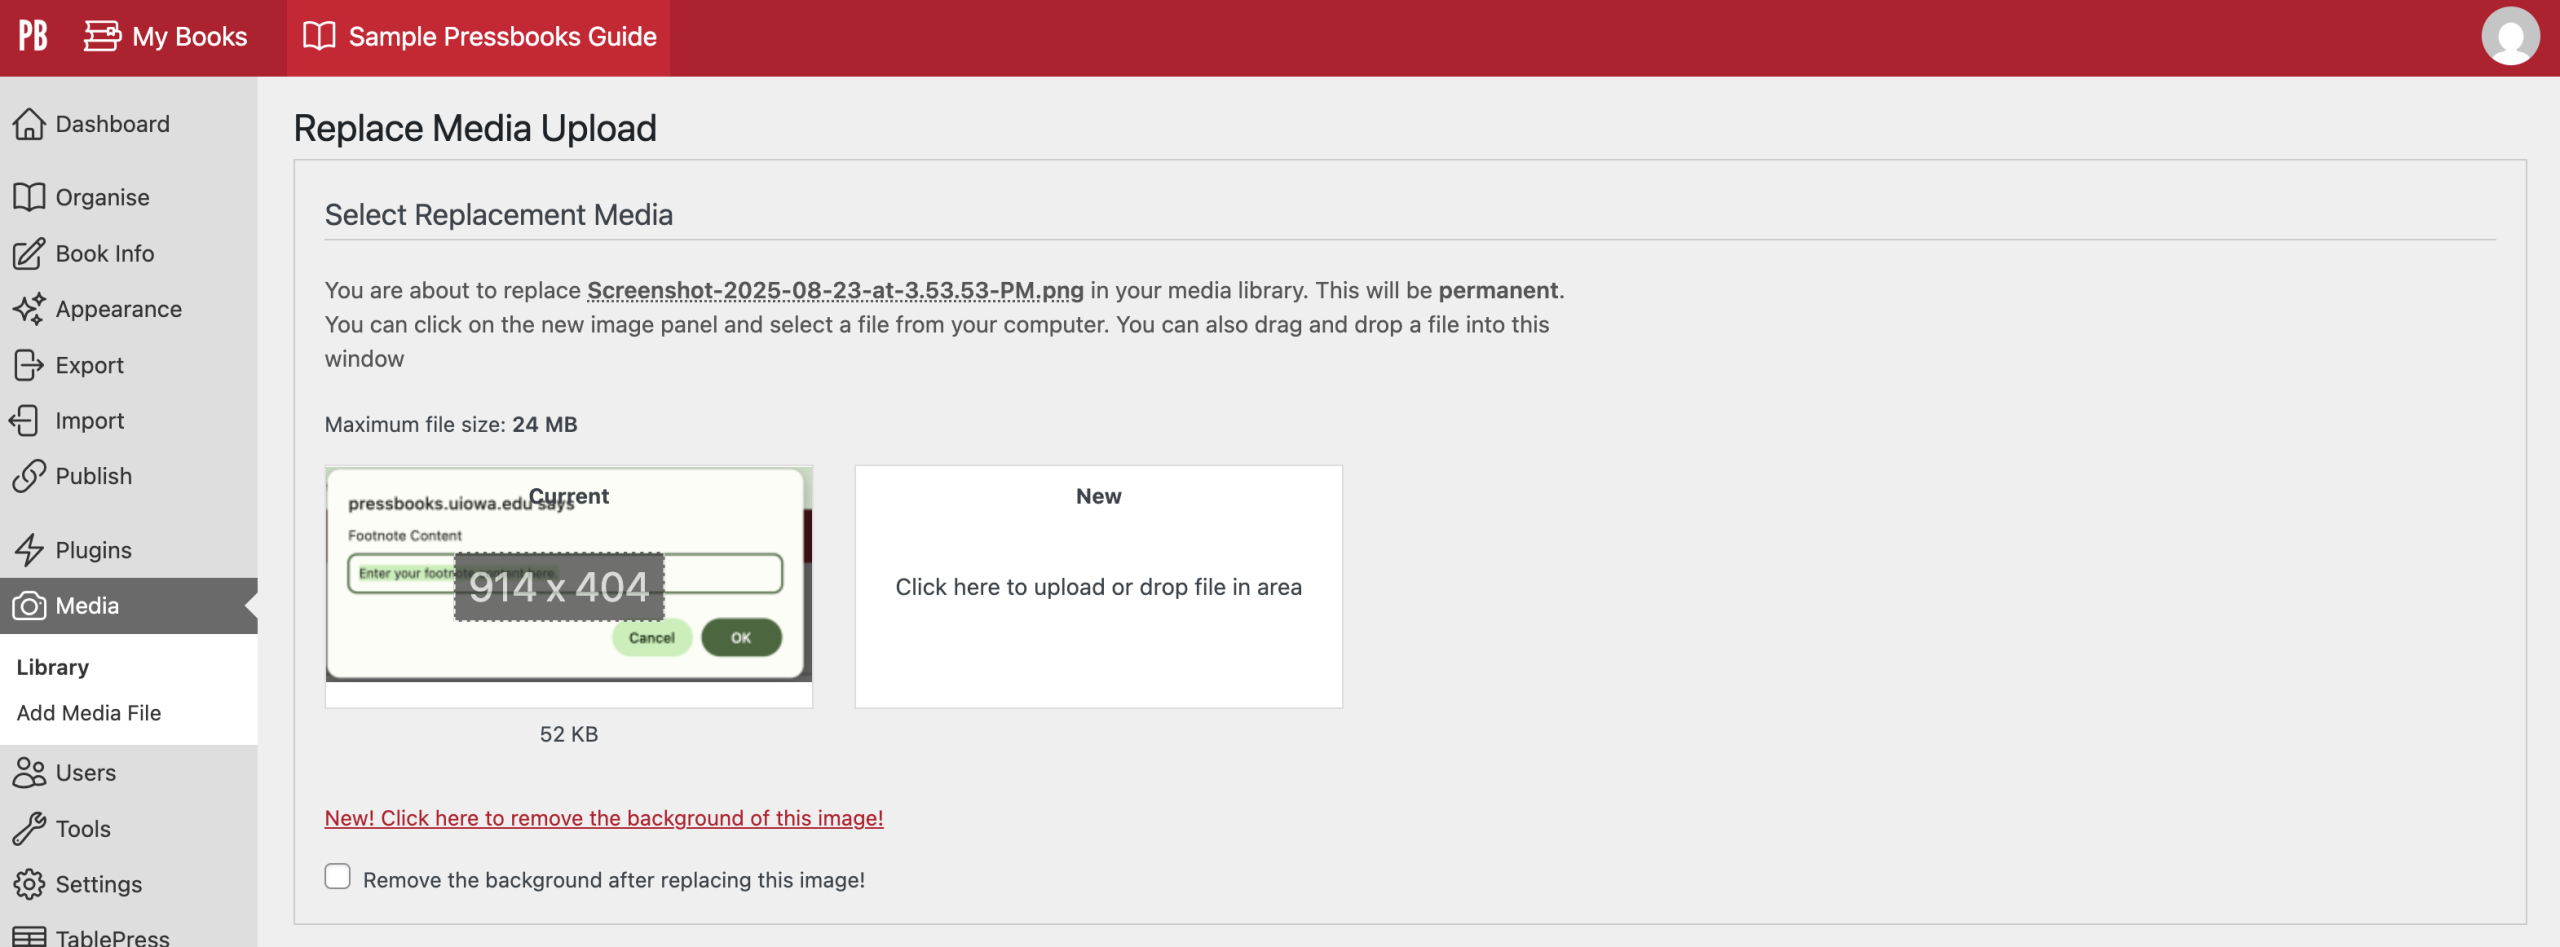
- Click the “Upload a new file” button to be taken to the “Replace Media Upload” page
- Under “Select Replacement Media,” next to the current image will be a white space that says “Click here to upload or drop file in area”
- On this page, you also have the option of removing the background of the image
- Under “Replacement Options,” you can choose whether to just replace the file or replace the file along with the file name and updated links.
- Under “Options,” you can choose whether to replace the date with the current date, keep the date, or set a custom date
- When you’re done, select “Upload” at the bottom of the page.
After the replacement image is uploaded, you’ll be brought to the Media Attachment page for the replacement image. Navigate back to your chapter via the left sidebar menu if necessary.
NOTE: You may choose to edit or replace images directly from the Media Library instead of through the chapter. Once you’ve selected an image from the library, the same steps apply in all cases except single-image replacements, which must be performed from within the chapter editor.
Media attribution
Users can format media attributions in a standardized way by enabling the Media Attributions setting from the Theme Options page in Pressbooks. With the Media Attributions setting on, you can display the attribution metadata of your media files at the end of each chapter of your book.
This is helpful for users who are creating textbooks and may be using a large quantity of images from different sources.
This setting allows attribution information to be displayed at the end of each chapter after your body text and before your footnotes.
Enabling the media attribution setting
To enable the Media Attributions setting on your book, follow these steps:
- Click Appearance on the left-hand menu of your book’s dashboard
- Click Theme Options
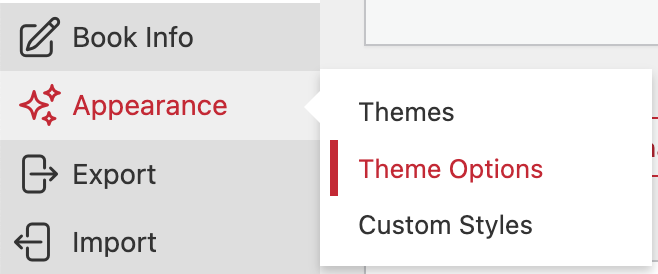
- In the Global Options tab, scroll to Media Attributions
- Check the box next to “Display attributions at the end of a chapter”

- Click Save Changes at the bottom of the page
Adding attribution metadata
There are two places where you could choose to input your attribution data: through the media library and in the chapter.
Through the media library
If you upload your media to your media library before placing the image in a chapter, or if you’re entering attribution data for images that you’ve already placed throughout your book, it’s best to edit image attribution data in the Media Library page.
Find your book’s Media Library by going to Media > Library from the left-hand menu of your book’s dashboard.
All media items, including audio, video, and images, will be listed on the Media Library page. To add attribution data to a media file, follow these steps:
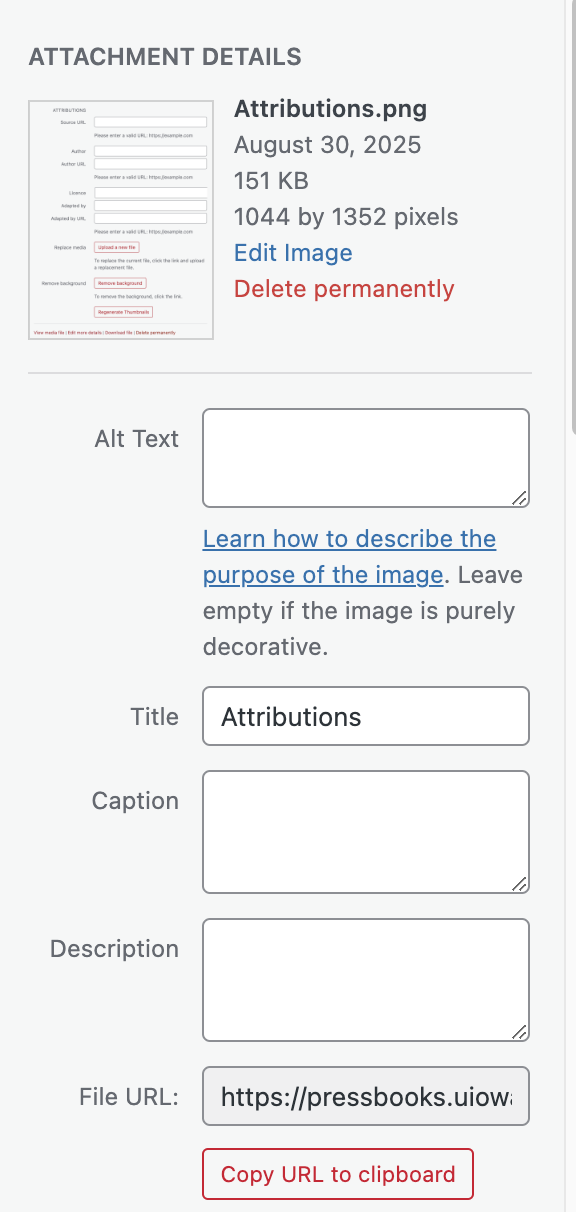
- In your Media Library, click on a media file
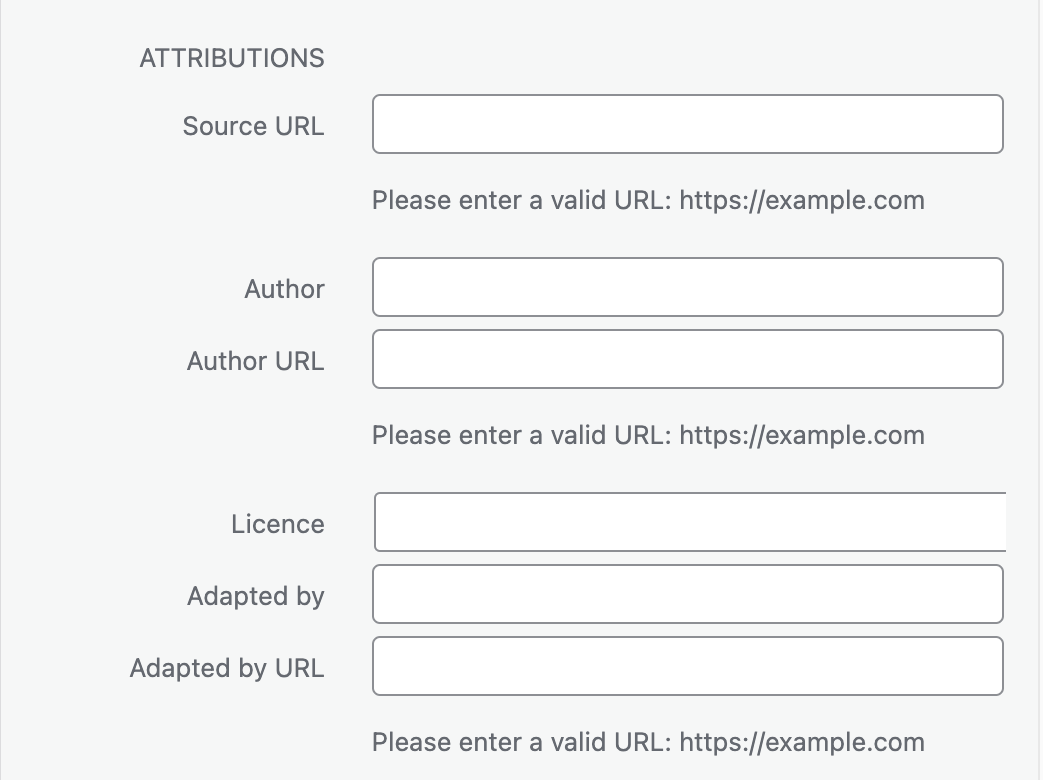
- Scroll down to Attributions on the right-hand side of the Attachment Details window
- Enter your attribution metadata (such as Source URL, Author, Author URL, License, and more)
- Exit the Attachment Details window by clicking the X in the corner
Follow these steps for each image that you’d like attribution information included in your book for.
In the chapter
If you’re entering images directly into a chapter instead of the media library, you can edit the image attribution inside the Add Media interface in the chapter editor. Follow these steps:
- In the Visual Editor, select Add Media
- Upload your file
Once the file is uploaded, you’ll be redirected to the Media Library screen in the dialog box.
- Scroll down to Attributions on the right hand side of the screen
- Enter your attribution metadata (such as Source URL, Author, Author URL, License, and more)
- Click Insert Into Chapter
Repeat this process for each new image you insert.
NOTE: You can only add attribution metadata from within the chapter when you first upload an image. Afterward, all attribution metadata must be entered from the Media Library
This chapter is adapted from the University of Arkansas OER Style Guide, Chapter: Media, published under a Creative Commons Attribution 4.0 International License.
