18 The Clever Interface
In this Chapter, we will about the clever interface, how to navigate the Clever Page, and how to access all of the resources needed for your student.
Clever is a website for accessing other applications. The homepage is filled with different icons/tiles (the squares) that will open a specific application if clicked on. The main homepage should something look like this, but it will vary between teachers.
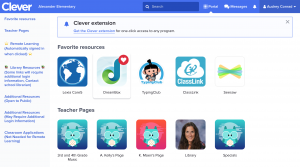
The squares with pictures in them are the different icons or tiles that you can select to take you to another program. Here are some examples of those icons.
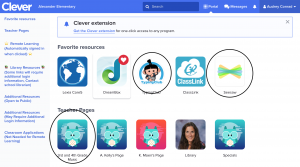
The icons can be grouped into certain categories such as your favorite resources, library resources, classroom applications, and more. If you click on one these tabs (shown below, circled on the left) you will be directed to a category.
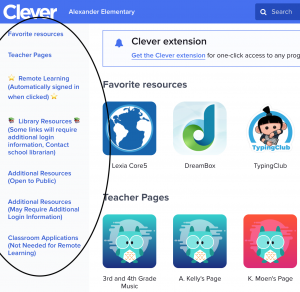
For example, if you selected “Remote Learning” your screen will direct you to that group of icons. (Shown Below)

On the top right of your screen you should see another set of options. The first is the “Portal Tab”. When you click on this tab you will be taken to the Clever homepage. This is a useful tab to press if you ever get lost and need to start back from the main page.
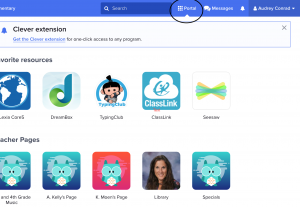
The next tab to the right is the “Messages” tab. When you click this tab you will have the ability to see any messages sent to you. Messages can be from any of your learner’s teachers or administrators.
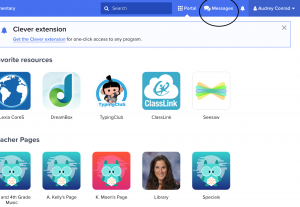
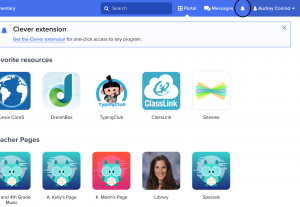
The next tab to the right is an image of a small bell. This is the “notification tab”. When clicked, you will be able to see any new information since your last log in.
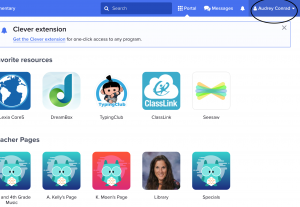
The final tab to the right is the “Profile” tab. You should see your learner’s name. When clicked, you will have the option to download your learner’s Clever badge. The clever badge you download is your learner’s official badge for signing in. The profile tab is also where you click to log out of clever.
These are the main features of the Clever interface!
First Draft: Leah Blask, Charlie Boyle
Final Draft: Caleb Moody
